Single Storey Kitchen Extension Construction Diary
Before and after photos:
Before & after photos of the construction of a single storey kitchen extension
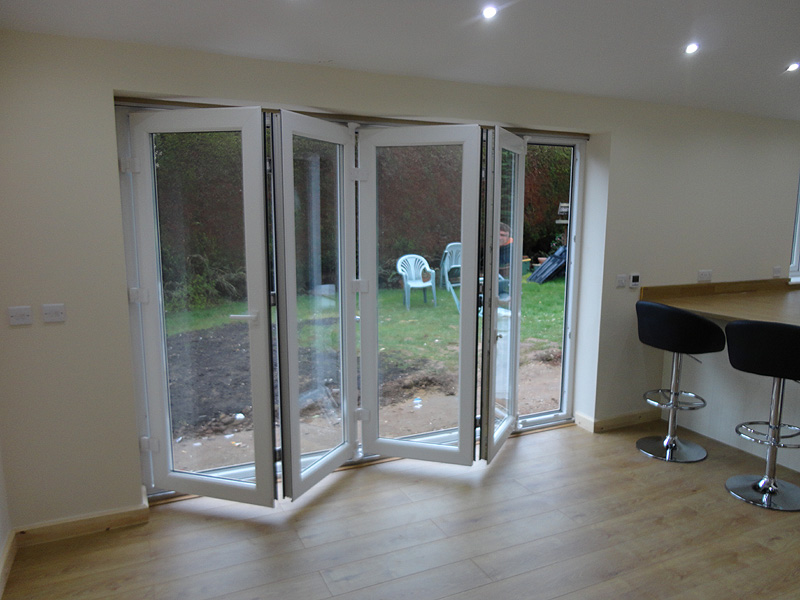
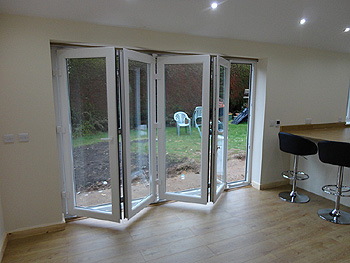
This single storey rear kitchen extension created additional ground floor living space. The extension was built with a pitched roof, underfloor heating, bi-folding doors and two electric Velux windows. The Velux windows are fully automatic with remote control and self-closing if it rains. The vaulted ceiling was fitted with recessed low energy LED spotlights. A contemporary cream kitchen with built-in appliances was fitted with oak flooring. We also fully decorated the kitchen. During its construction our building team also overcame the issue of difficult/restricted access to the rear of the property.
This single storey rear kitchen extension involved all of the following property services: Electrics, plumbing, plastering, tiling, painting & decorating, kitchen fitting, general building, window fitting, carpentry/joinery.
Please scroll down the page to view before, during and after photos of the building of this single storey kitchen extension. Alternatively, please click on one of the sections in this quick list below to see a particular aspect of the building process.
Please click on the images below for a larger view
(opens in new window/tab).
Before Building Works Commenced
|
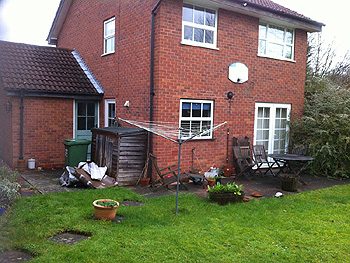
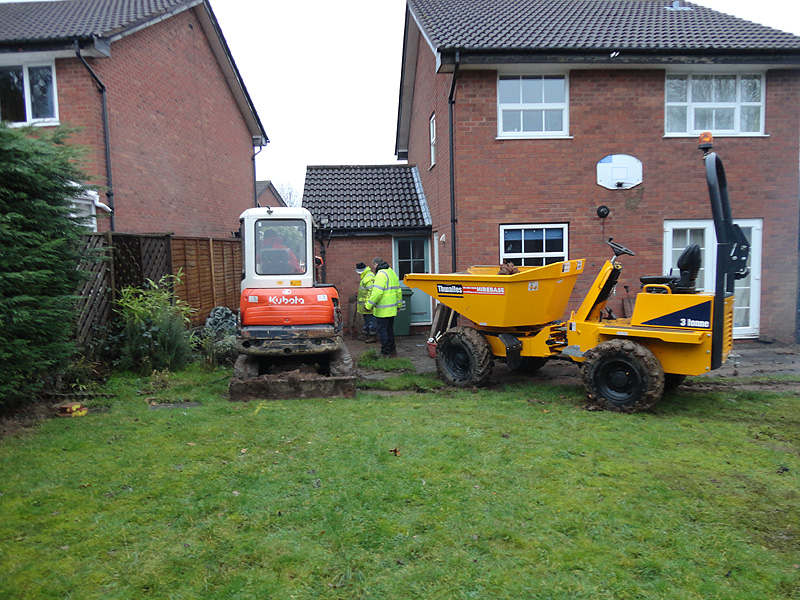
The original rear of the property |

Marking out the new exterior wall positions |
Return to top of single storey extension page
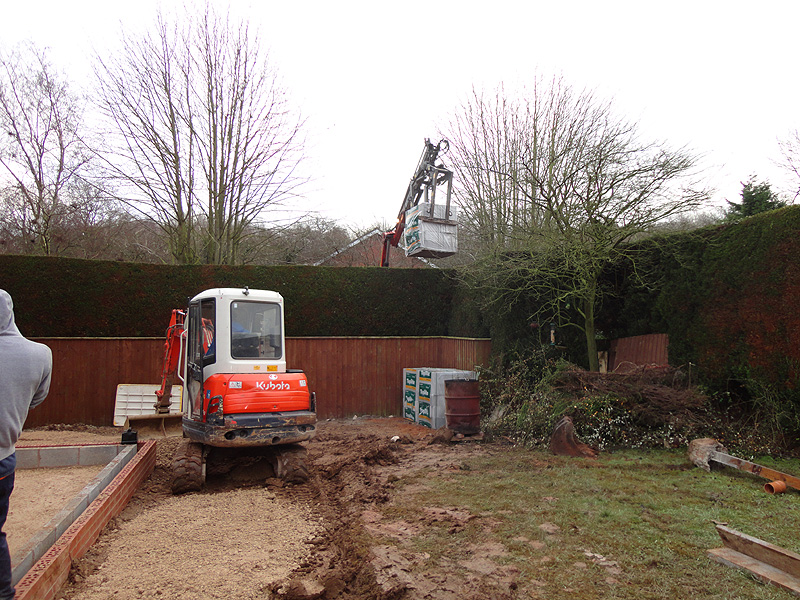
Digging Foundations
|

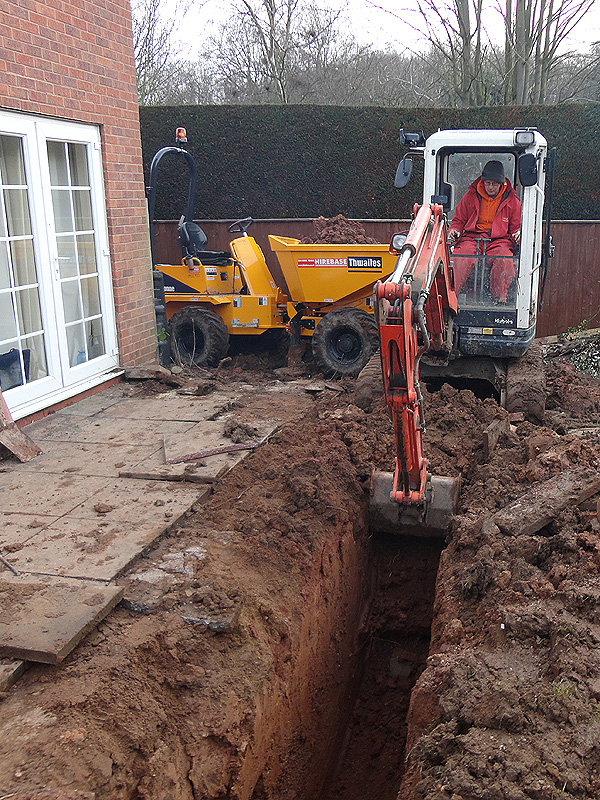
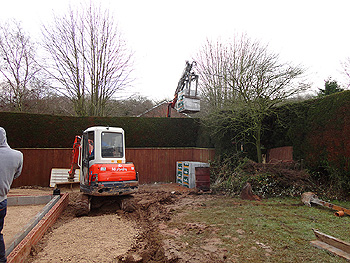
The mini-digger and small dumper truck |
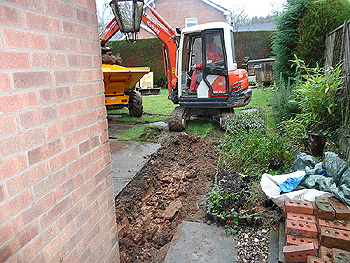
Starting to cut the turf |
|

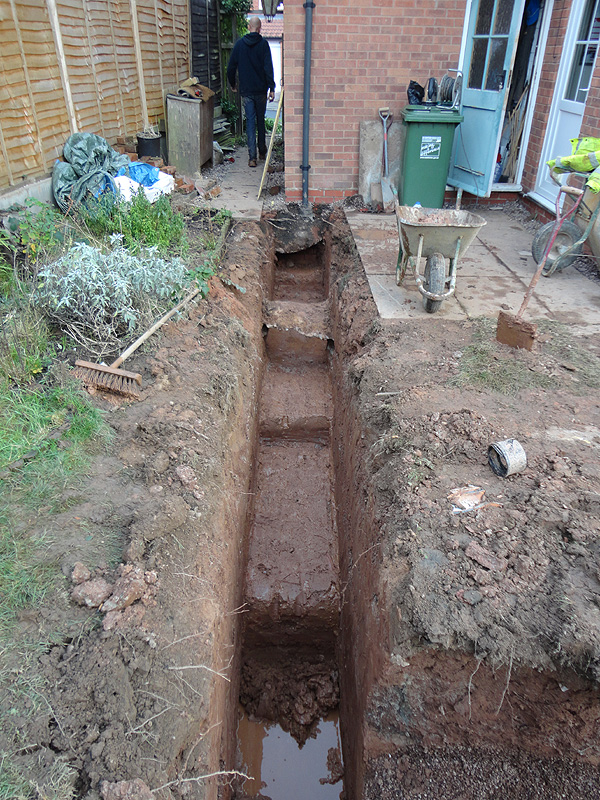
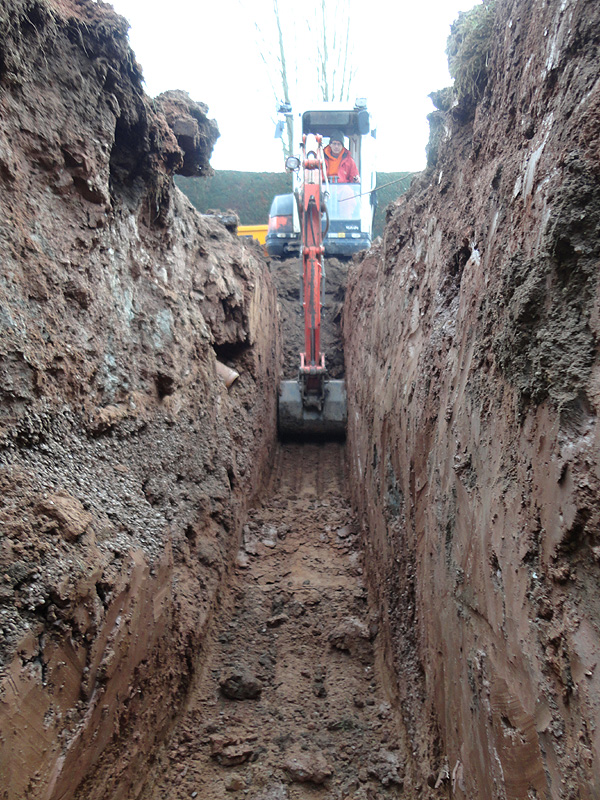
Digging / excavation
of foundations |

Digging / excavation
of foundations |
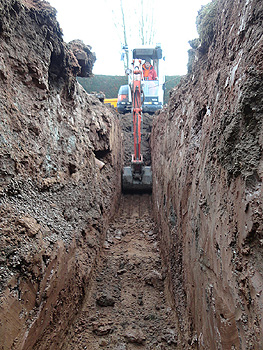
Digging / excavation
of foundations |
Return to top of single storey extension page
Installing Pipework
|

Installing the pipework |
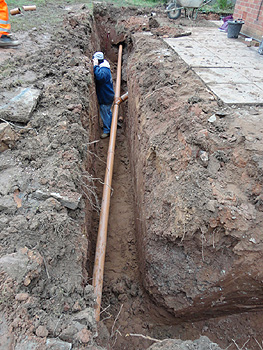
Installing the pipework |
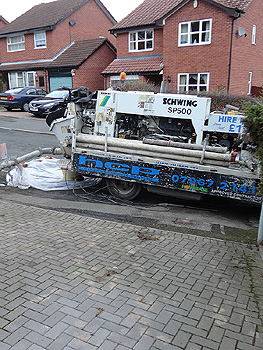
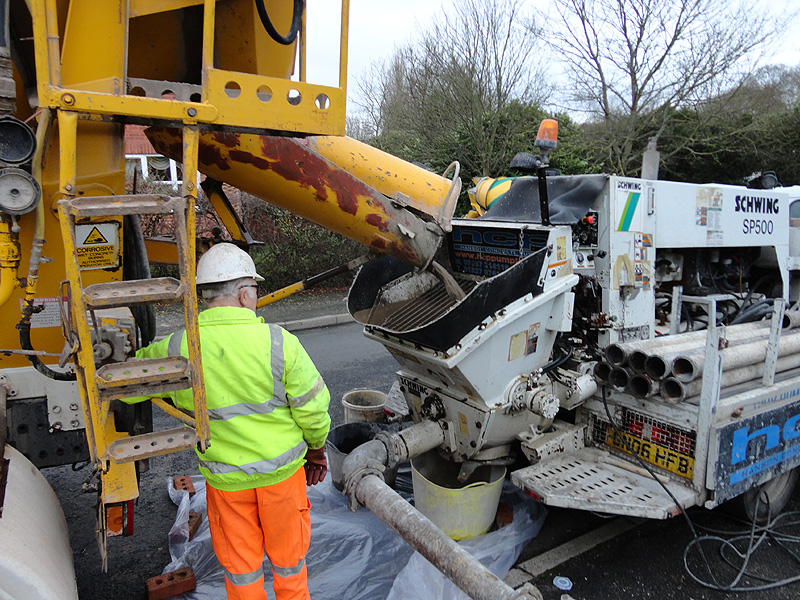
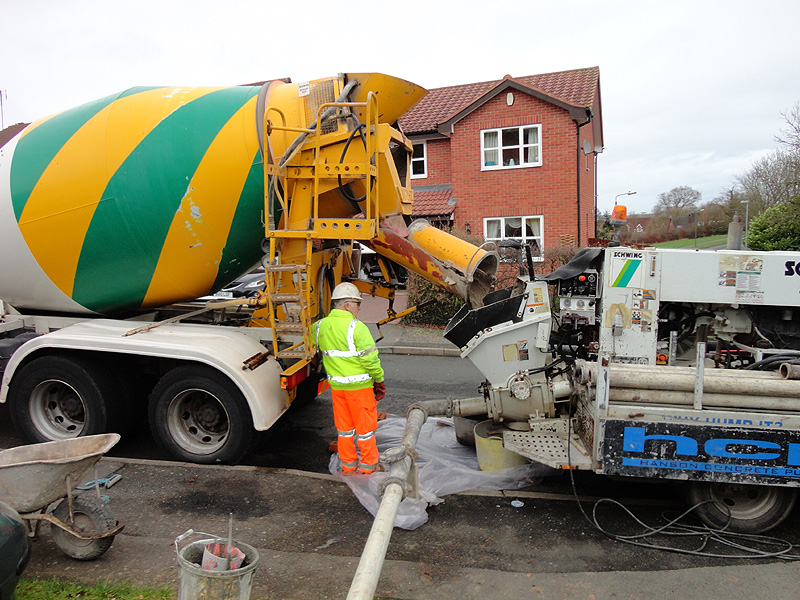
The cement pump arrives |
|
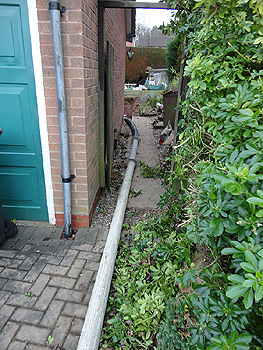
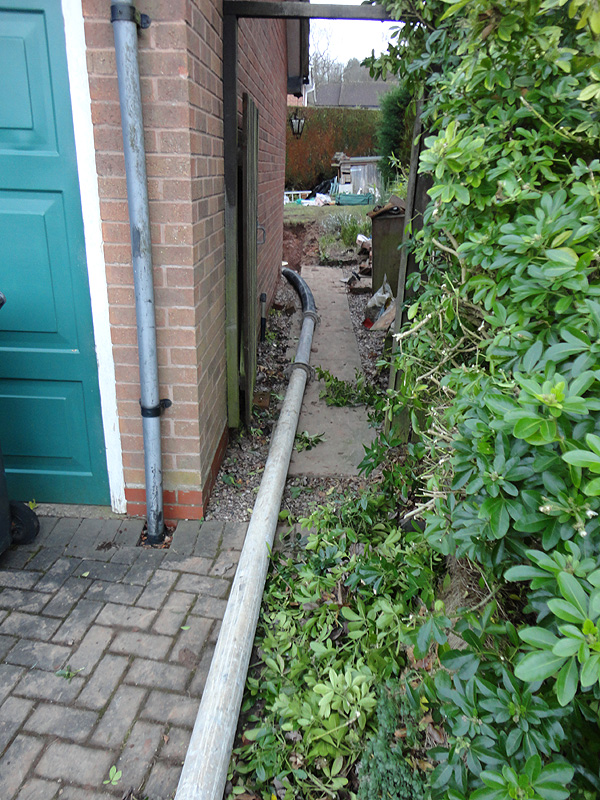
Cement pump feed pipe is taken
through the narrow access
at the side of the house |

The cement pump feed pipe
is carried to the trench |

Cement pump feed pipe
placed by trench
ready for filling |
|

Ready mixed concrete arrives to be fed into the pump |

Ready mixed concrete enters the feed pipe |
|
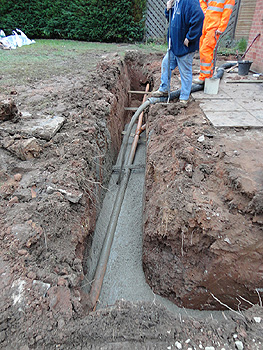
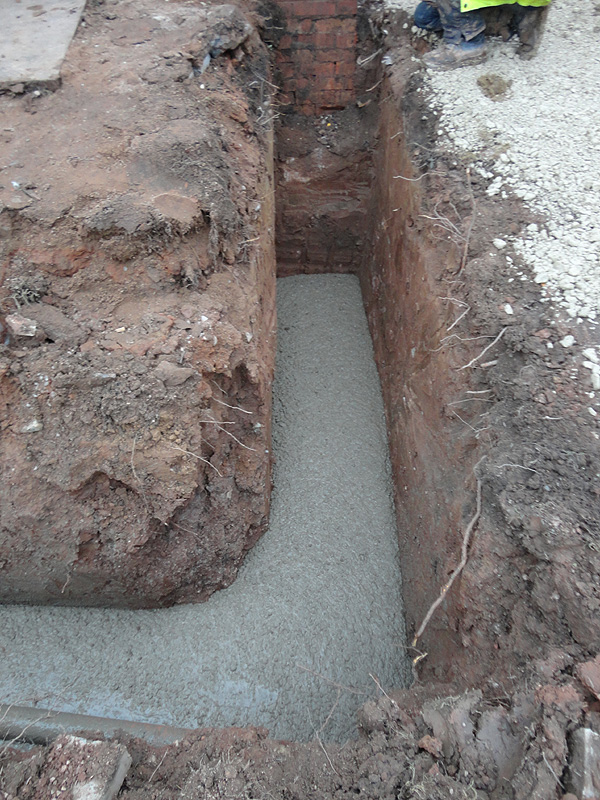
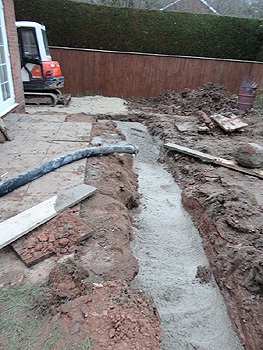
Concrete begins to flow
into the trench |
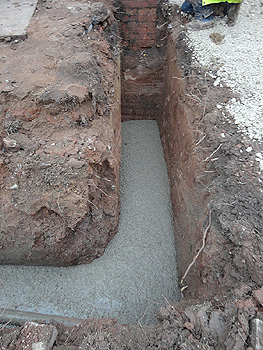
A foundation trench
half-filled with concrete |
The fully-filled
foundation trench |
Return to top of single storey extension page
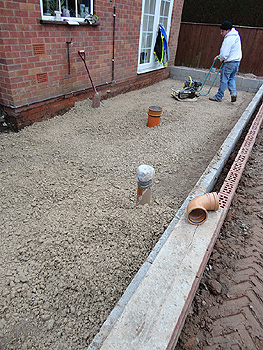
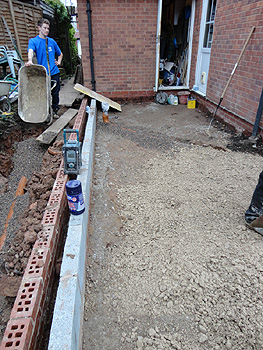
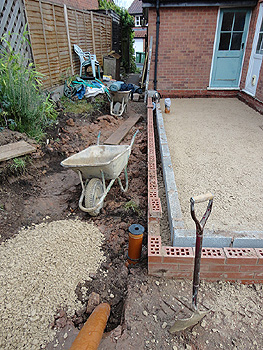
Drainage
|
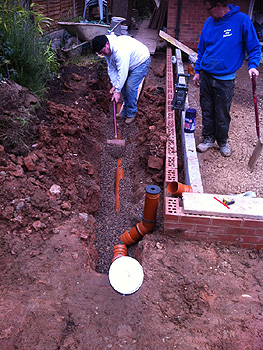
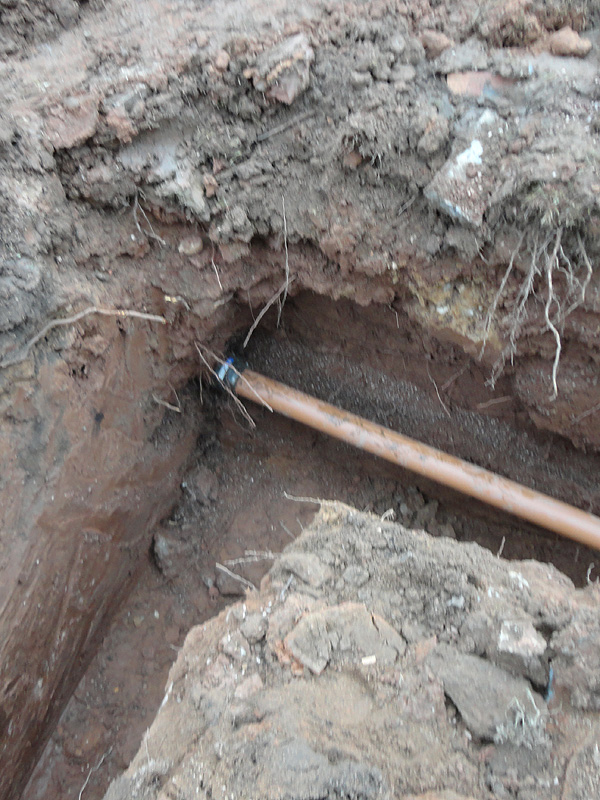
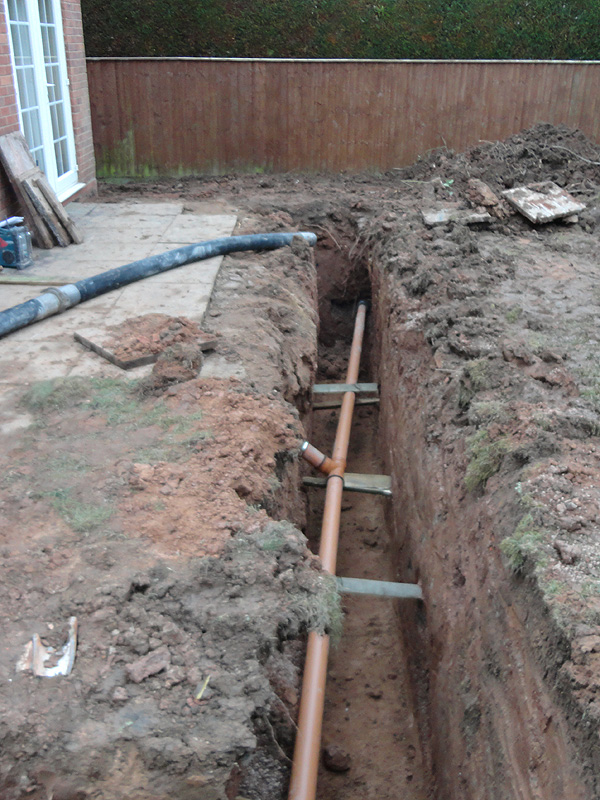
Drainage pipes are laid and connected to existing system |
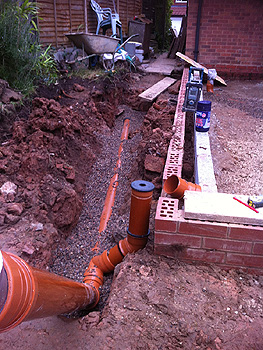
Drainage pipes are laid and connected to existing system |
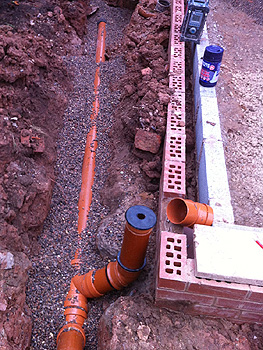
Drainage pipes are laid and connected to existing system |
Return to top of single storey extension page
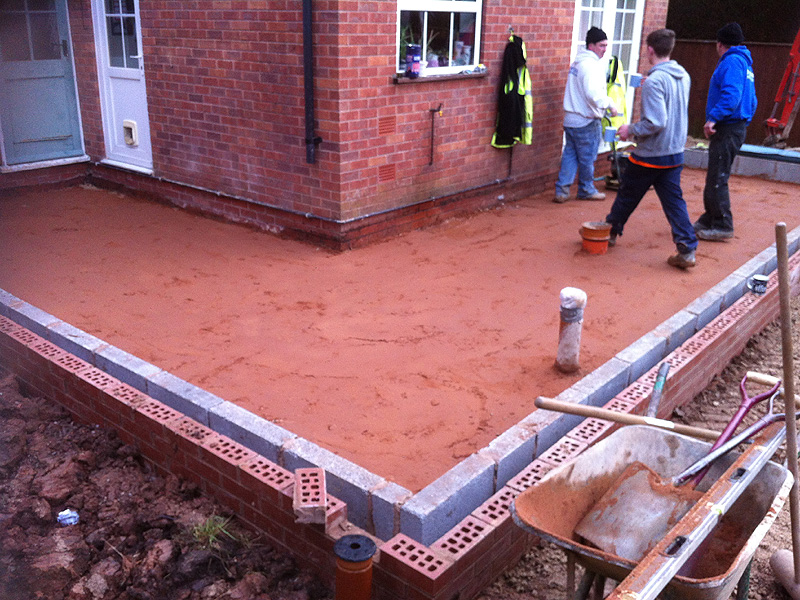
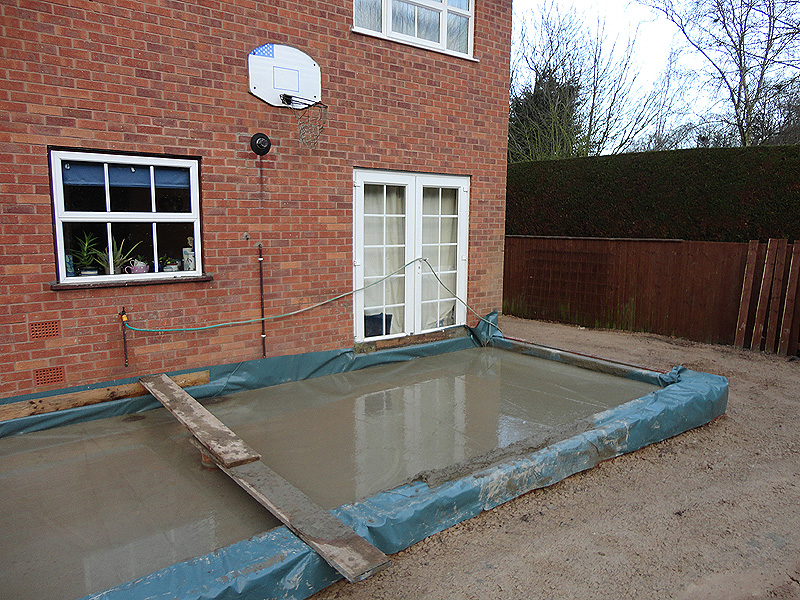
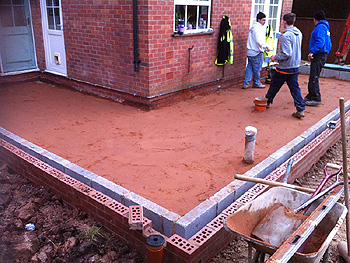
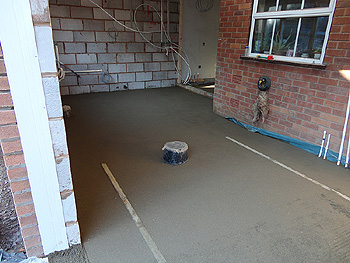
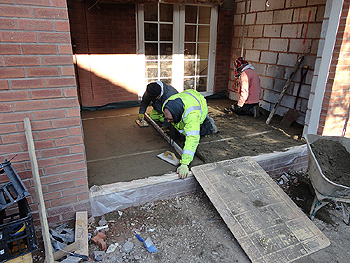
Creating the Concrete Base
|
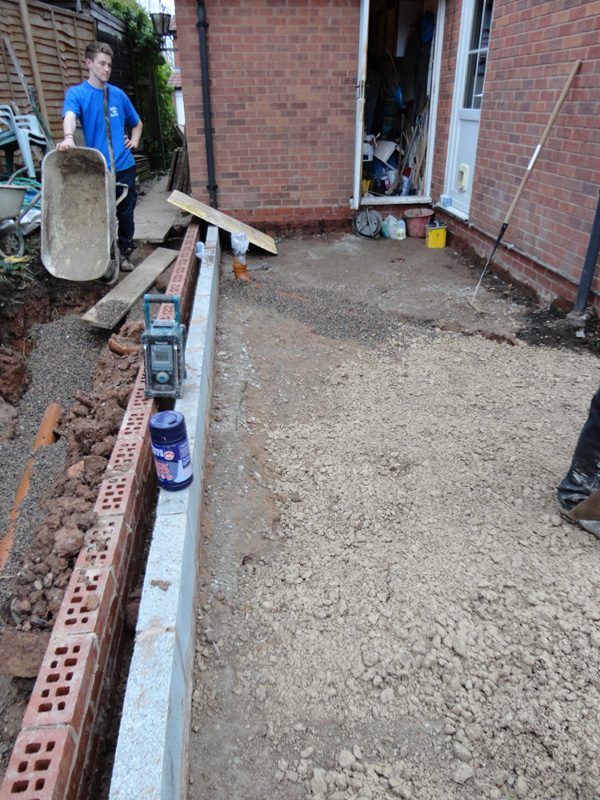
Compacting the base of the extension floor |
Compacting the base of the extension floor |
Compacting the base of the extension floor |
|
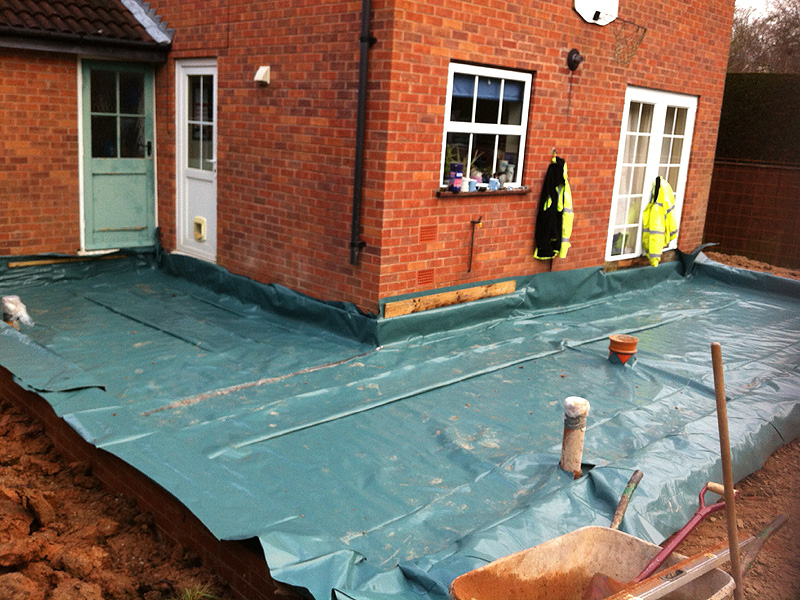
A layer of sand is added
on top of the compacted base |

The damp proof membrane in place |
|

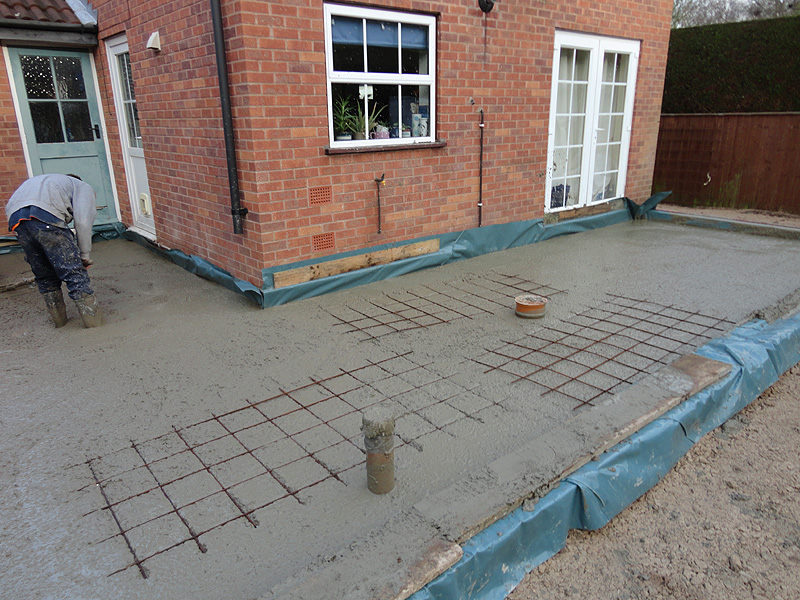
The concrete base is poured on top |
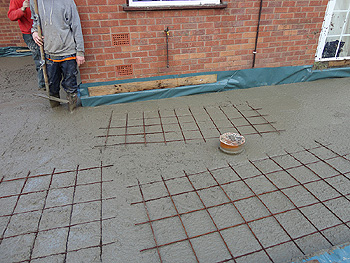
Steel re-inforcements are added to the concrete base |
|

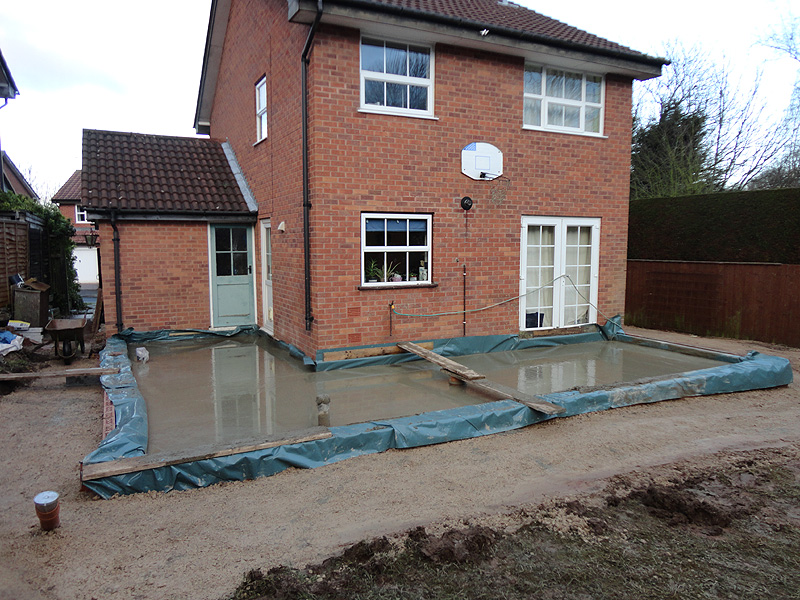
The completed concrete base is left to dry |
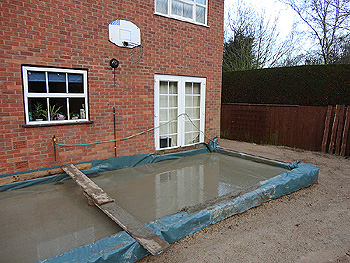
The completed concrete base is left to dry |
Return to top of single storey extension page
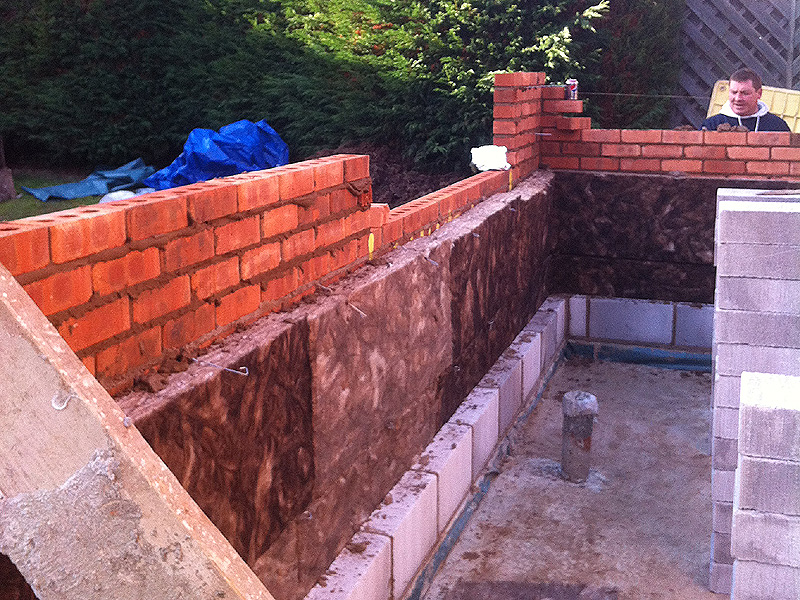
Building the Brick Walls
|
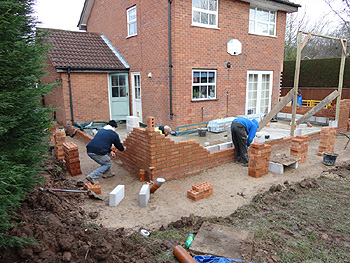
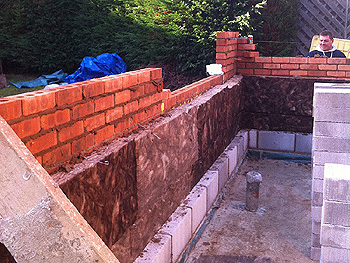
The bricklayers get to work |

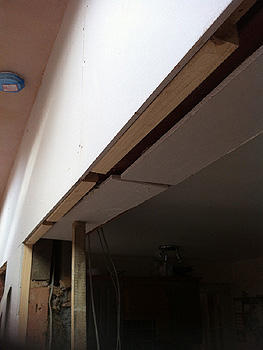
An aperture is left for the bi-folding doors |
|
More building materials arrive -
cleverly hoisted over the hedge! |
cavity wall insulation |
Return to top of single storey extension page
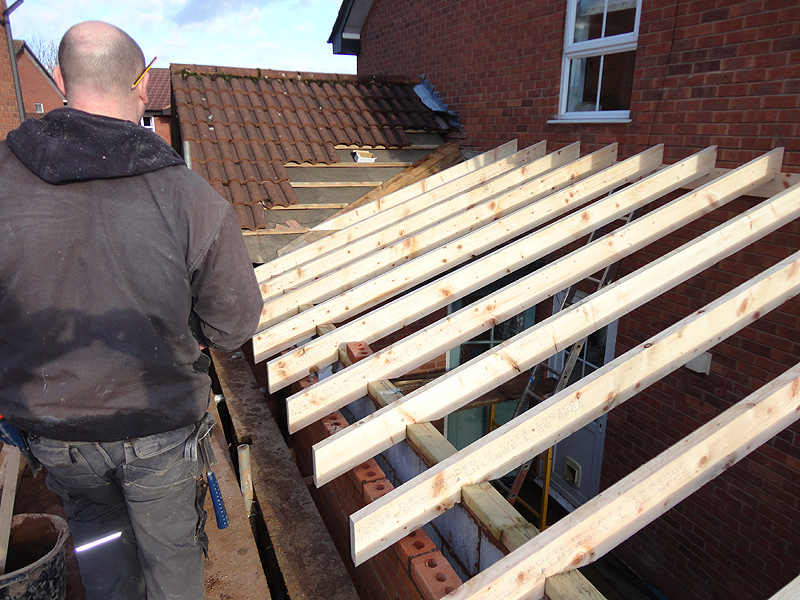
Building the roof
|
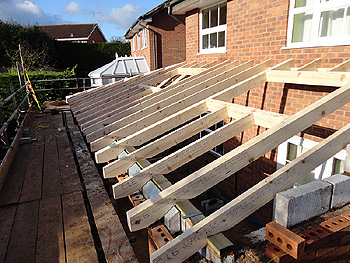
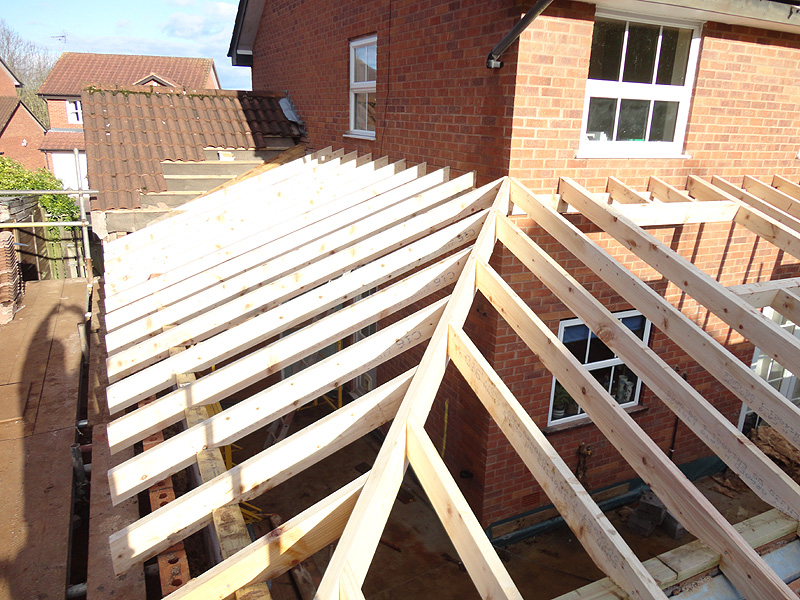
Our joinery team gets to work building
the roof with a vaulted ceiling |
Our joinery team gets to work building
the roof with a vaulted ceiling |
|

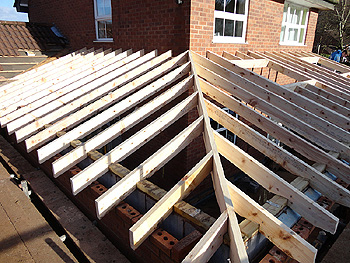
Our joinery team gets to work building
the roof with a vaulted ceiling |
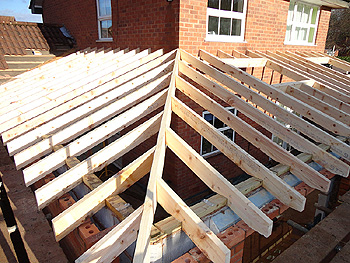
Our joinery team gets to work building
the roof with a vaulted ceiling |
|
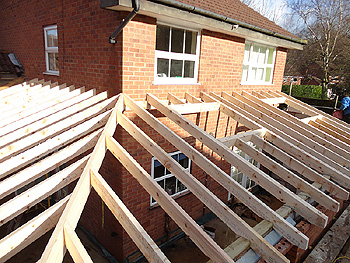
Our joinery team incorporate the spaces
in the roof for the two Velux windows |

Our joinery team incorporate the spaces
in the roof for the two Velux windows |
Return to top of single storey extension page
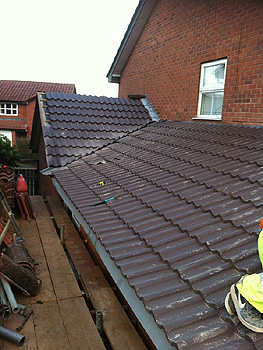
Roof Tiling
|
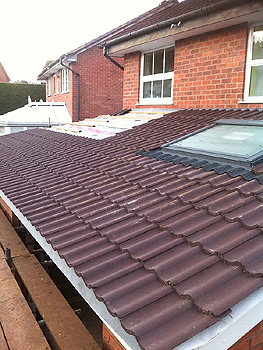
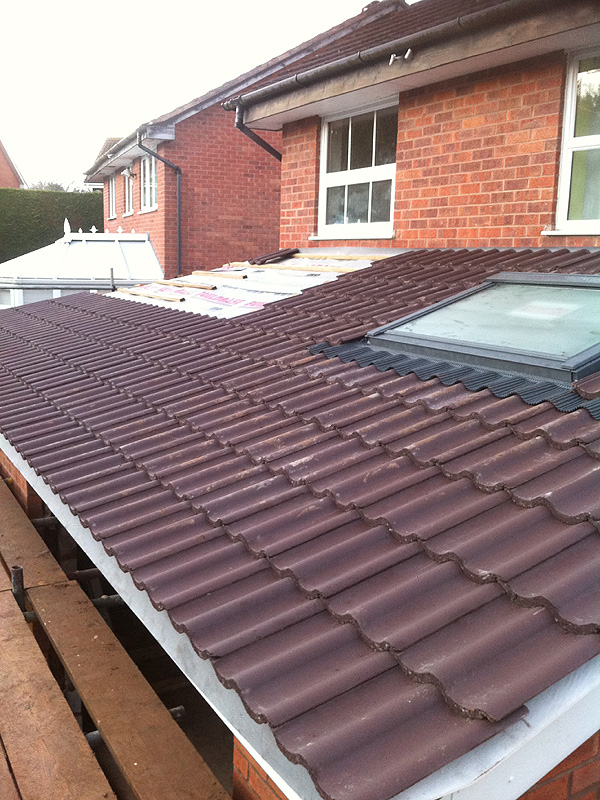
Roof tiling begins |

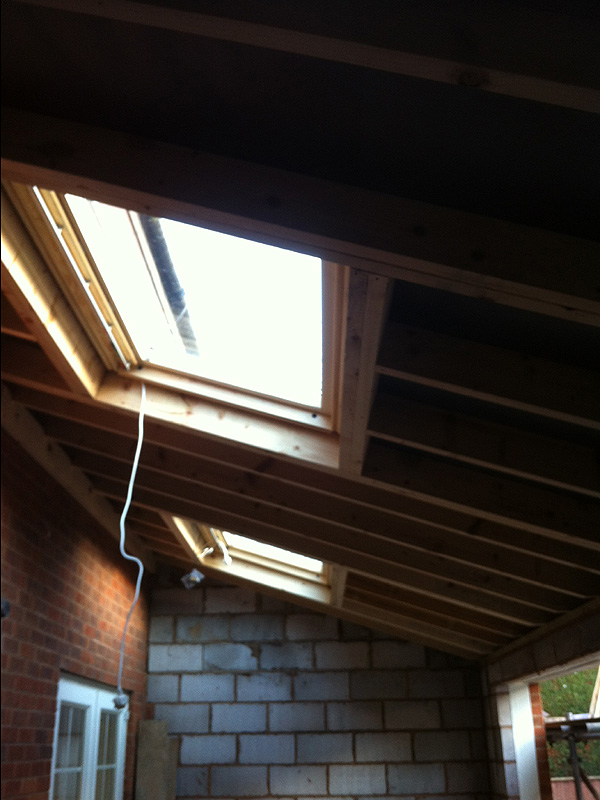
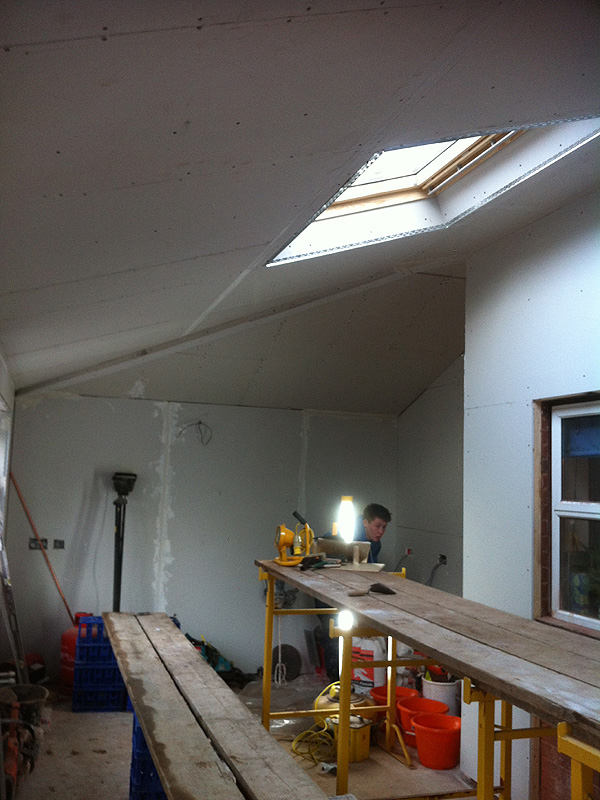
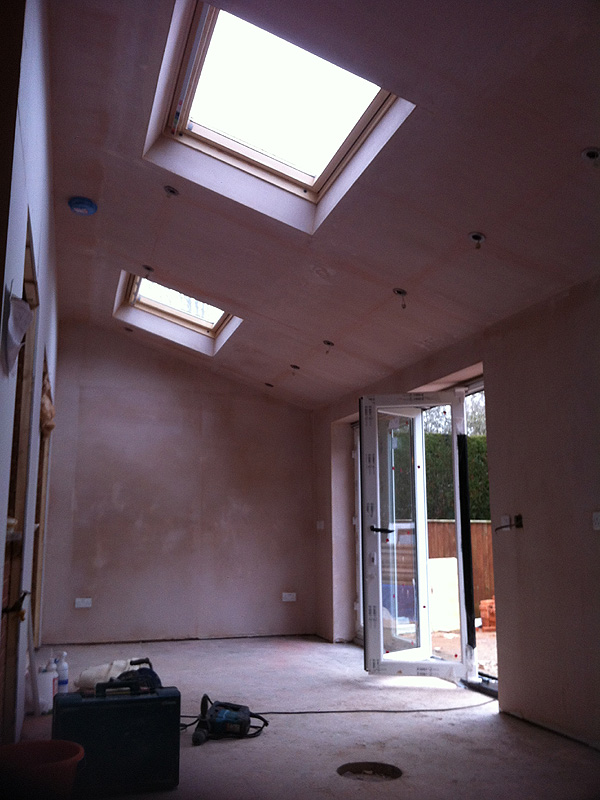
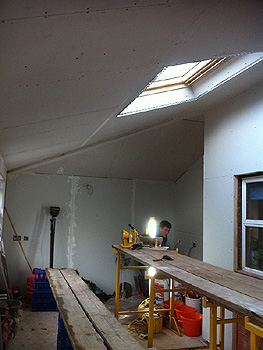
View of the roof from inside |

View of the roof & Velux windows from inside |
|

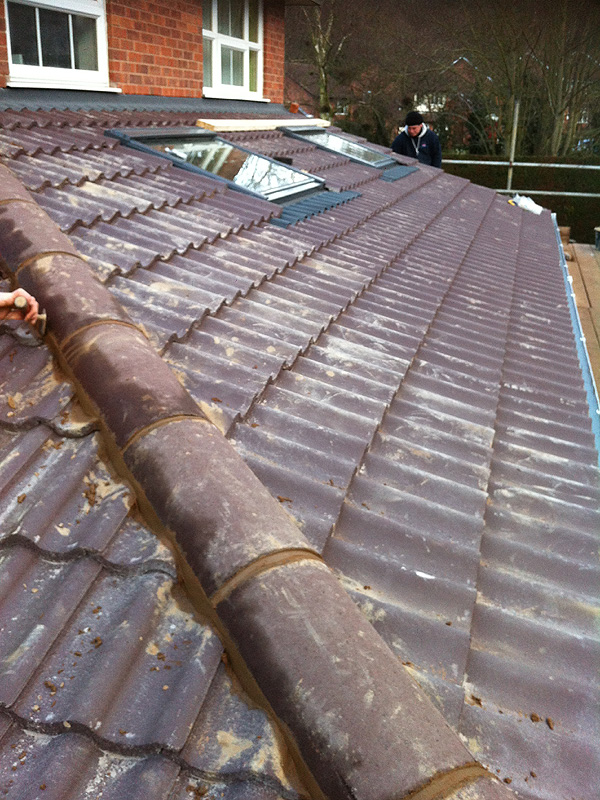
View of the roof & Velux windows from outside |
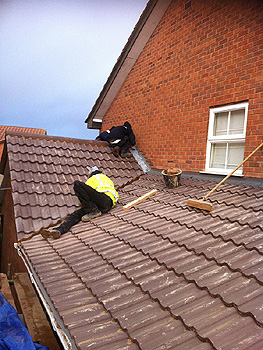
Finishing off the
roof tiling & flashing |
Finishing off the
roof tiling & flashing |
Return to top of single storey extension page
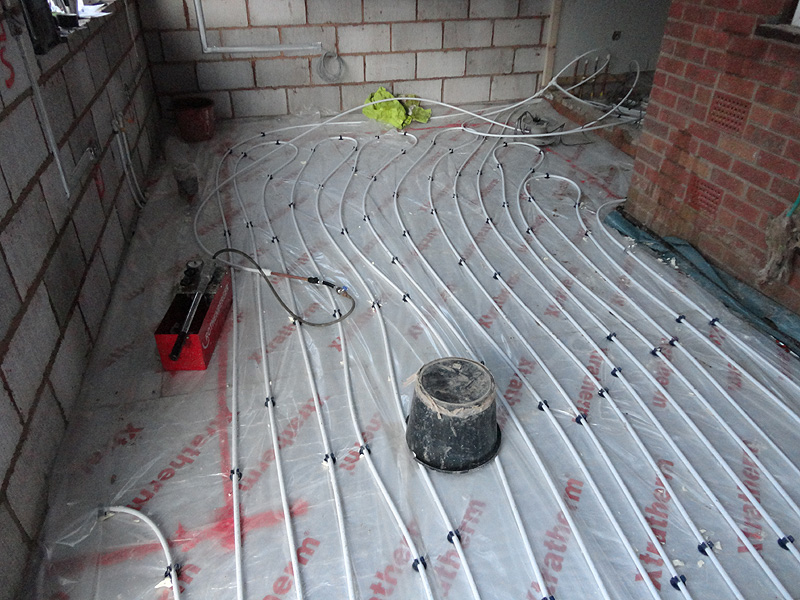
Underfloor Heating Installation
|

Wiring & pipework
for the underfloor heating |
A layer of concrete is applied
over the underfloor heating |
Return to top of single storey extension page
Bi-Fold Doors
|
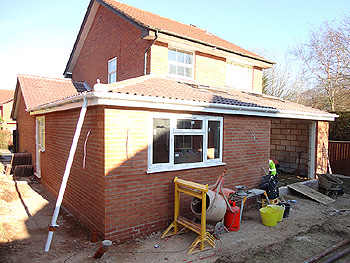
The almost completed extension, prior
to installation of the bi-fold doors |
Preparing the aperture for the bi-fold doors |
|
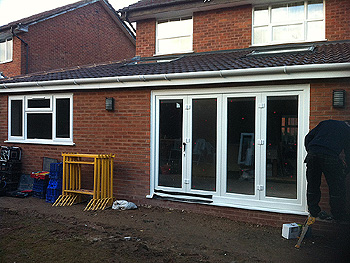
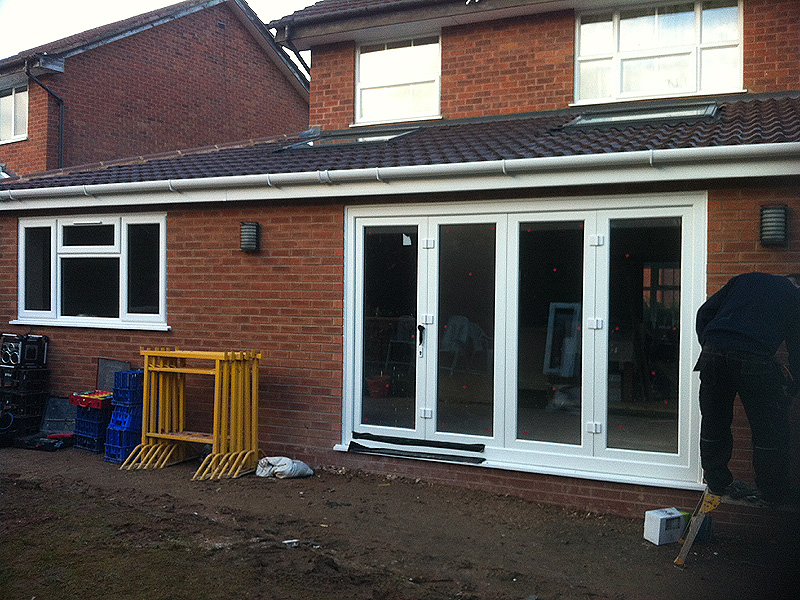
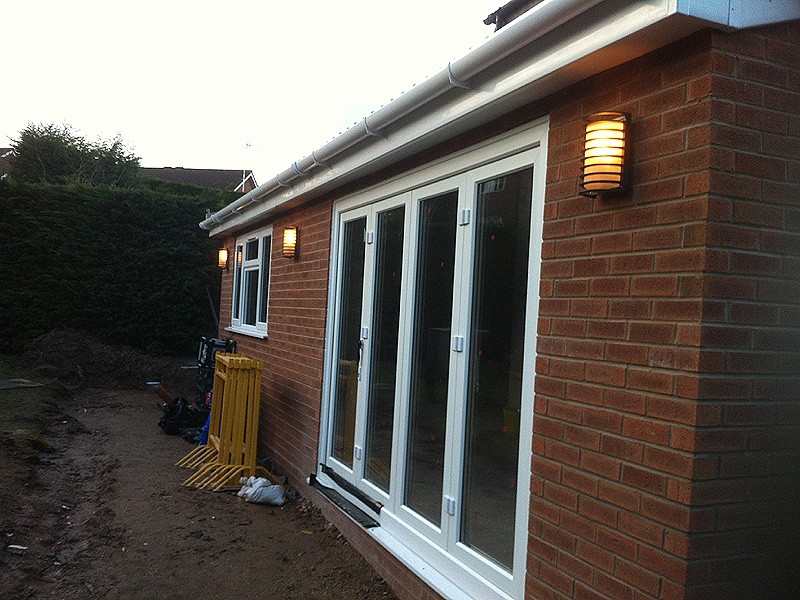
The completed rear extension
with bi-fold doors installed |
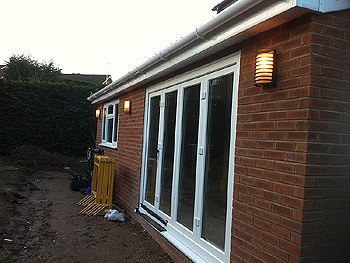
The completed rear extension
with bi-fold doors installed |
Return to top of single storey extension page
Plaster Boarding & Plastering
|
Boarding out
the kitchen extension |
Plasterboarding
the kitchen extension |

The kitchen extension
with plaster skimmed walls |
Return to top of single storey extension page
Completed Kitchen Installation
|
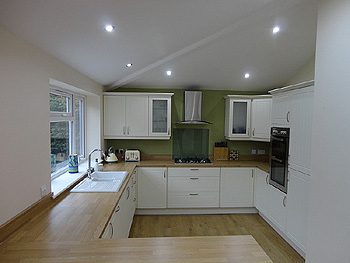
The completed rear kitchen extension
with vaulted ceiling & recessed
low energy LED spotlights
|
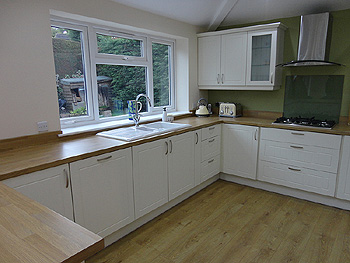
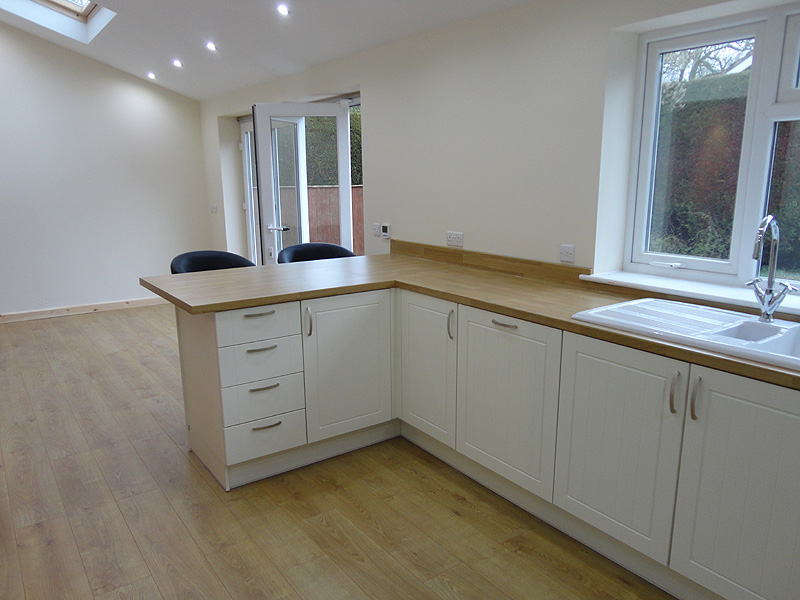
The completed kitchen design incorporated
a useful peninsula/breakfast bar
|
|
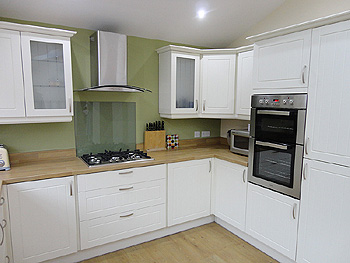
The kitchen was fitted with appliances
|

The rear kitchen extension
created a great family area
|
|

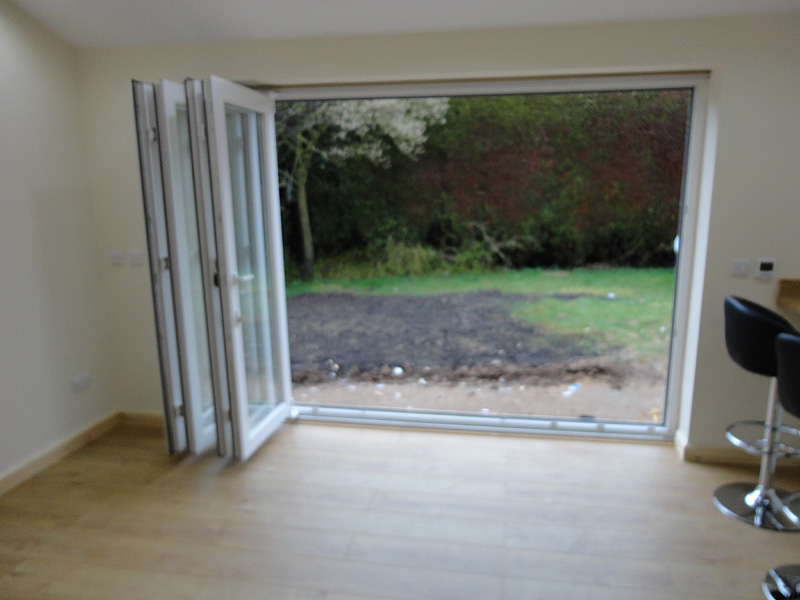
The uPVC bi-fold doors opening
|
The uPVC bi-fold doors half open
|
|

The uPVC bi-fold doors fully open
|
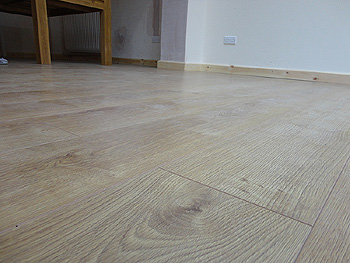
The low maintenance oak flooring
|
Return to top of single storey extension page
The HD Property Services team on this single storey kitchen extension project included:
- Joiner
- Electrician
- Plumber
- Plasterer
- Tiler
- Painter & Decorator
- Kitchen Fitter
- General Builder
- Window Fitter
- Carpenter
<<< GO BACK TO BEFORE & AFTER GALLERY <<<
 Call us today for a friendly chat to discuss your requirements on 07513 99 17 17 or 01527 401 403. Call us today for a friendly chat to discuss your requirements on 07513 99 17 17 or 01527 401 403.
Alternatively send an email to: info@hdpropertyservices.com
|