Barn Conversion renovation diary
Before and after photos:
Before & after photos of a the renovation of a barn conversion.
This barn conversion project created a fabulous contemporary family home. We stripped all the interior walls back to brick and insulated, plaster boarded and re-plastered throughout. We also laid new floor boards. We totally rewired & re-plumbed the property and installed a new external oil-fire boiler and Mega Flow pressurised system. Our fitters installed a new kitchen & four new bathrooms. Our window fitters installed new feature doors and windows to the front and rear, including aluminium bi-fold doors at the front. We also installed 9 electric/automatic Velux windows. Our joiners created a feature glass ballustrade through the interior stairwell and laid oak flooring with new skirting boards, doors and frames throughout. Outside our builders and landscape gardeners replaced a collapsed drain, laid new pipework, installed new guttering and laid two new Indian stone patios and landscaped the drive area. This major renovation project involved all of the following property services: Plastering, tiling, flooring, kitchen fitting, bathroom fitting, flooring, carpentry, window fitting, electrics & plumbing, landscape gardening, guttering, general building, painting & decorating.

Please scroll down the page to view before, during and after photos of this renovation project. Alternatively, as this barn conversion was such a large renovation project, please click on one of the sections in this quick list below to see a particular area of the house.
Please click on the images below for a larger view (opens in new window/tab).
Getting Started - Building Works
|
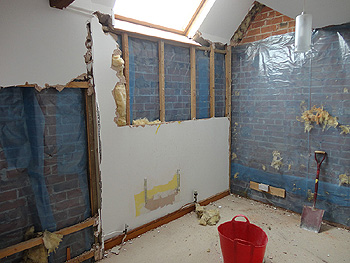
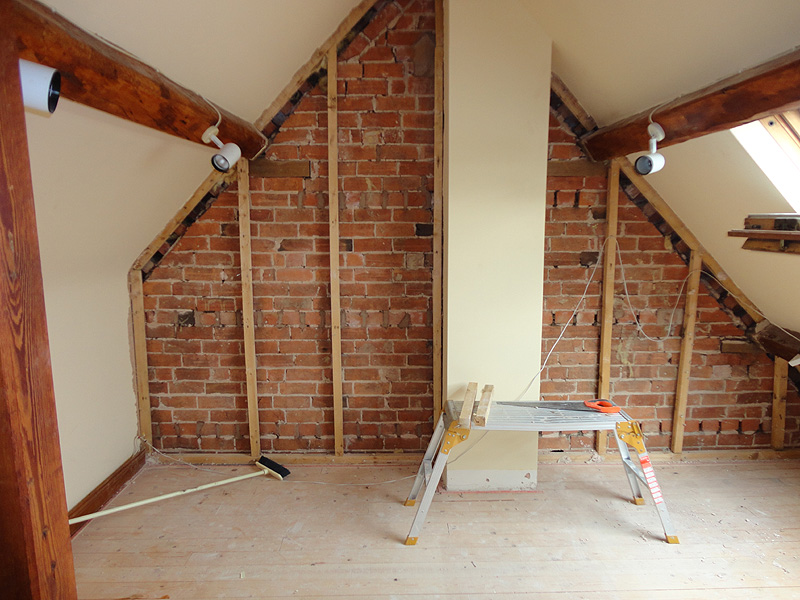
Interior walls stripped back to brick
prior to insulation & re-plastering |

Interior walls stripped back to brick
prior to insulation & re-plastering |
|
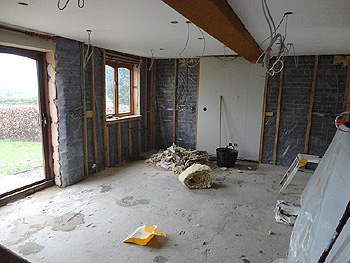
Interior walls stripped back to brick
prior to insulation & re-plastering |

Interior walls stripped back to brick
prior to insulation & re-plastering |
|

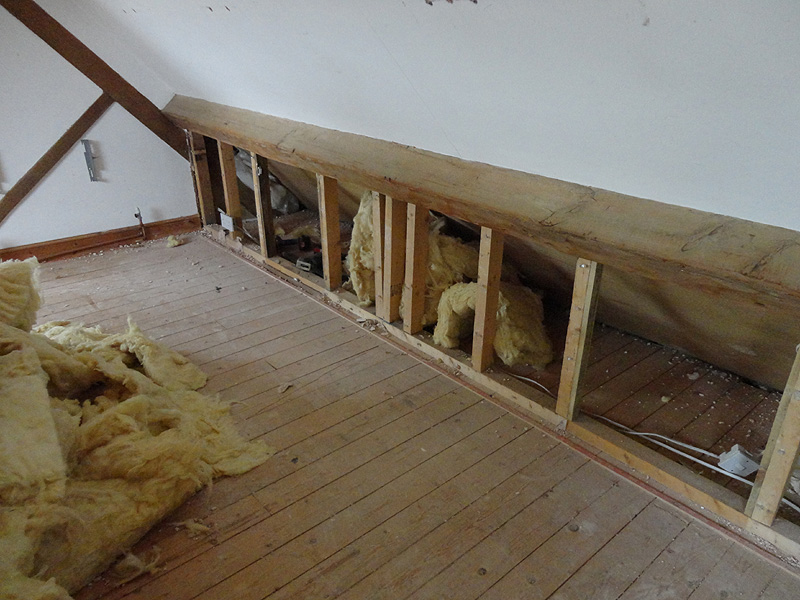
Removal of plasterboards to enable
re-wire & re-insulation |

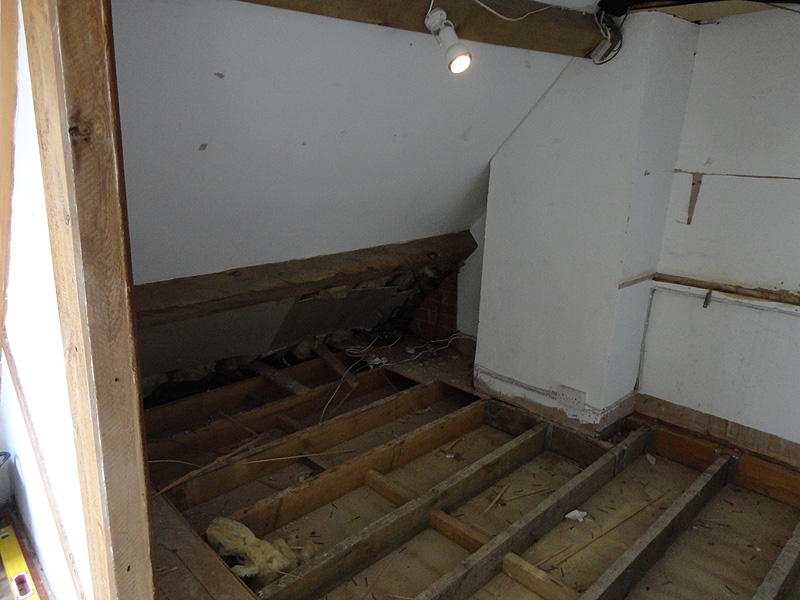
Removal of floorboards to enable
re-wire, re-insulation & re-boarding |
|
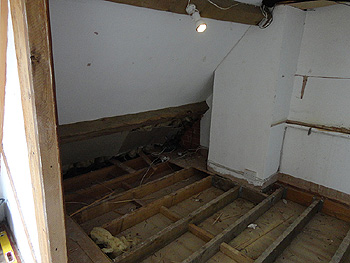
Removal of floorboards to enable
re-wire, re-insulation & re-boarding |
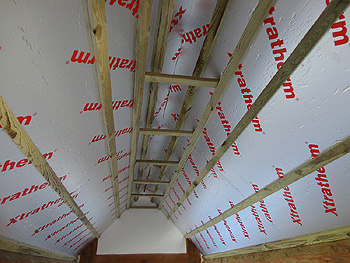
Insulation of the roof |
|
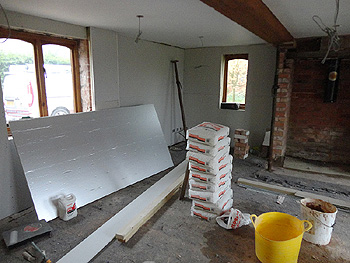
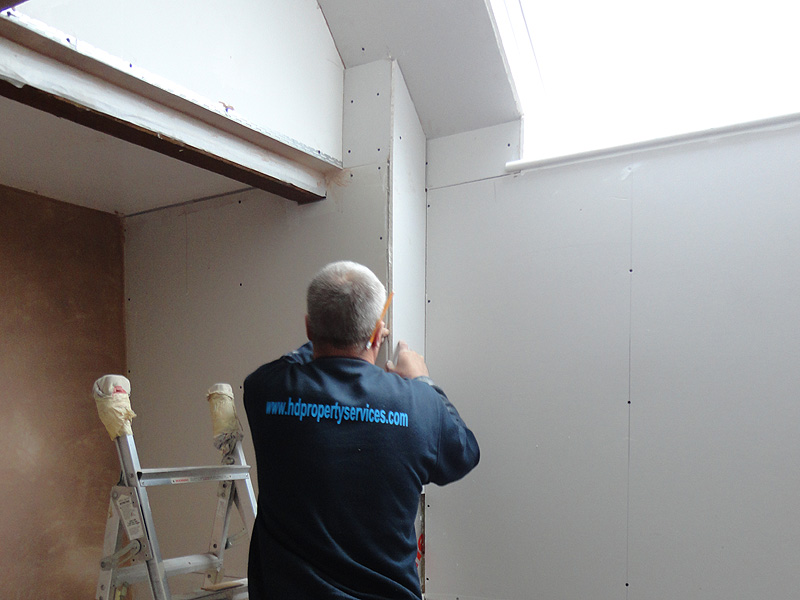
Insulation & plastering of the interior walls |
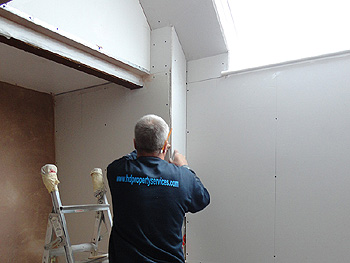
Plaster boarding a bathroom |
|
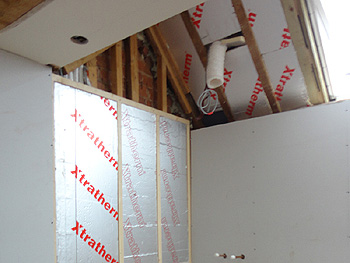
Insulation & plaster boarding
in one of the 4 bathrooms |
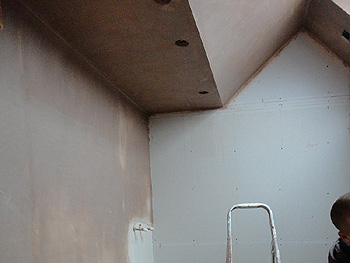
The plaster skimmed ceiling and wall |
|
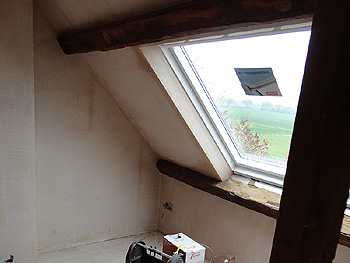
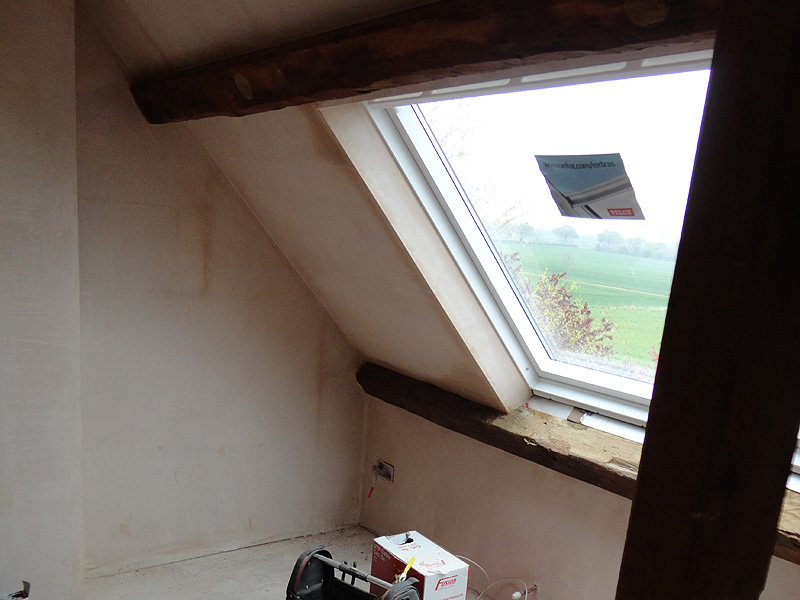
One of the 9 newly installed
electric/automatic Velux windows |
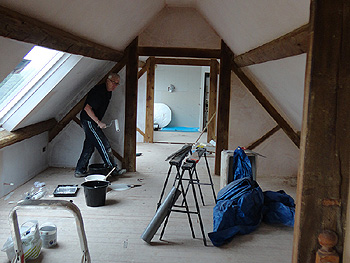
The room was then freshly painted |
Return to top of barn conversion page
Chimney Breast Removal
|
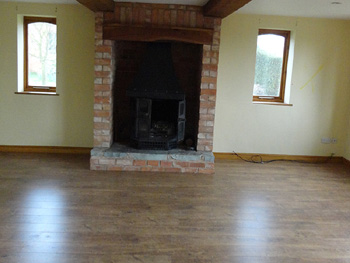
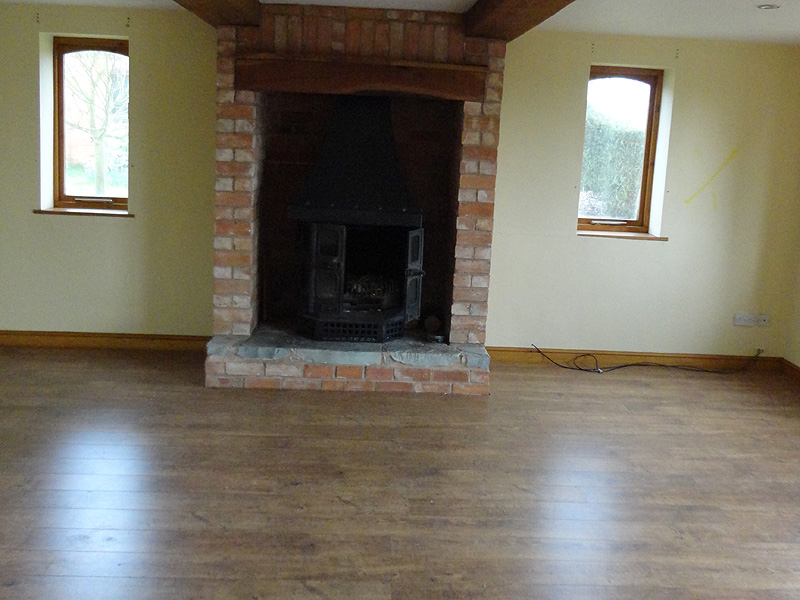
The living room prior to
chimney breast removal |

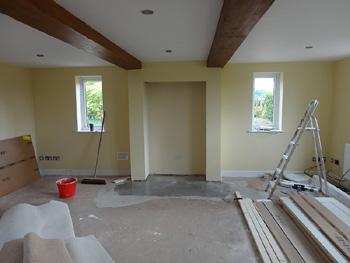
The living room during
demolition of the chimney breast |
|
The newly plastered and painted fire surround |
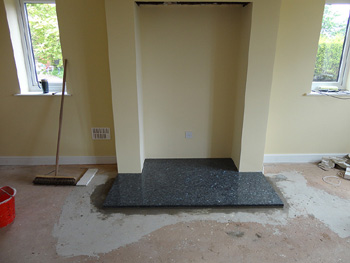
The new marble hearth stone |
Return to top of barn conversion page
New Kitchen Installation
|

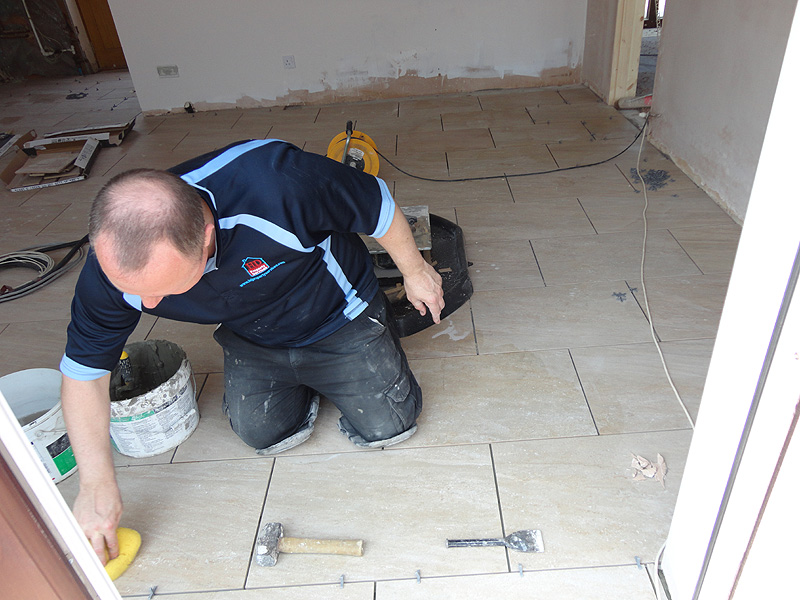
Grouting the floor tiles |
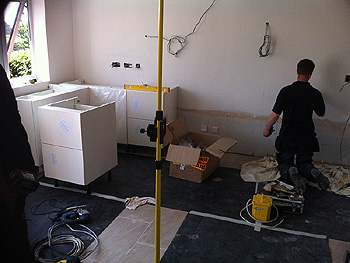
Installing new kitchen units |
|
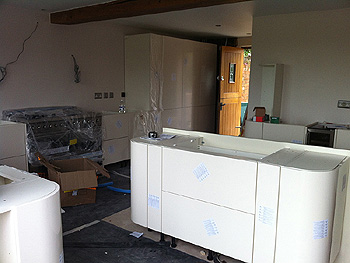
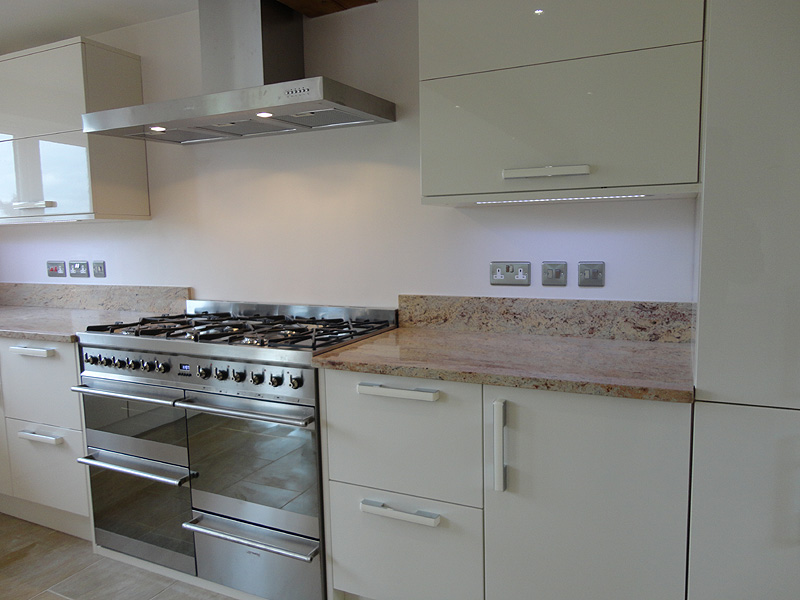
Installing the range cooker
and kitchen centre island |
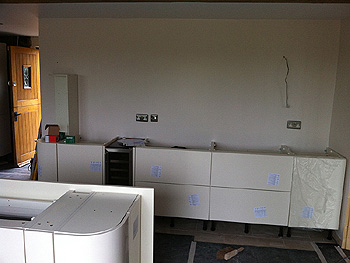
The remainder of the kitchen
floor cupboards are installed |
|
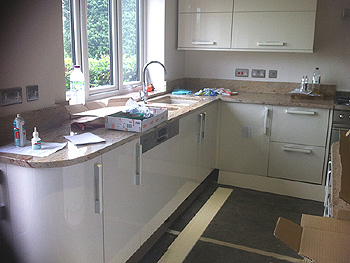
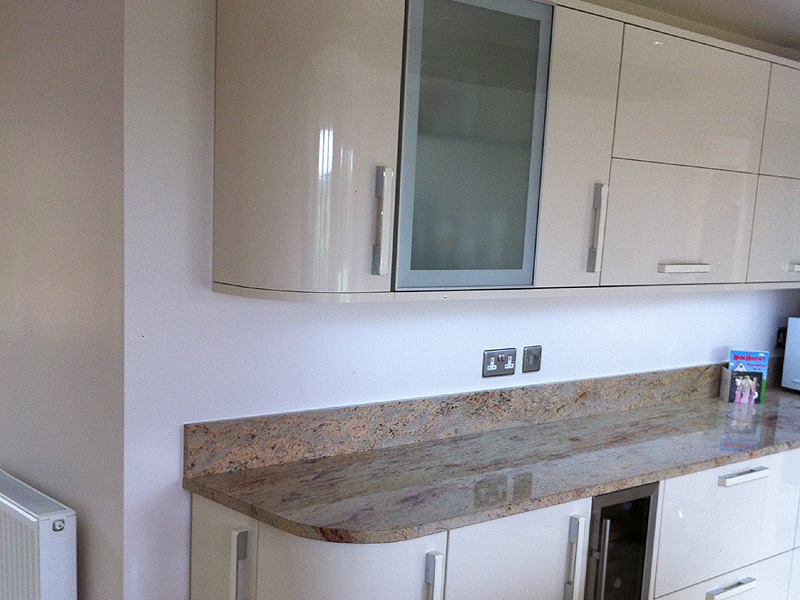
The granite work surfaces are installed |
All kitchen cupboards &
integrated appliances are fitted |
|
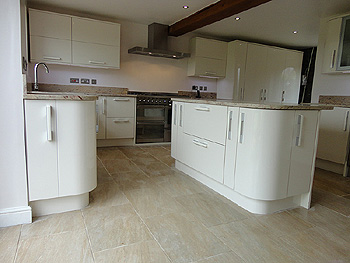
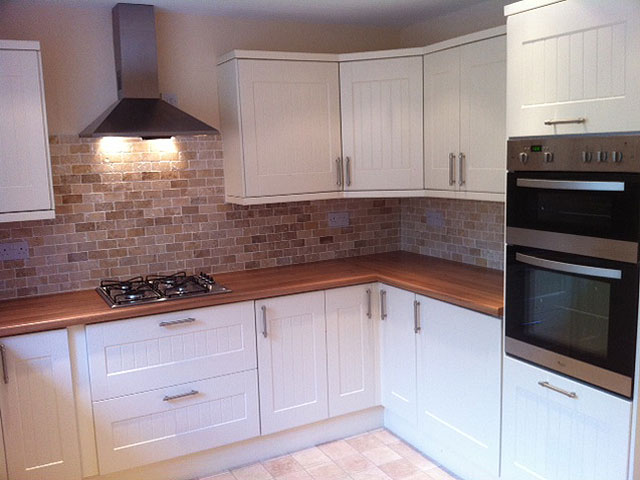
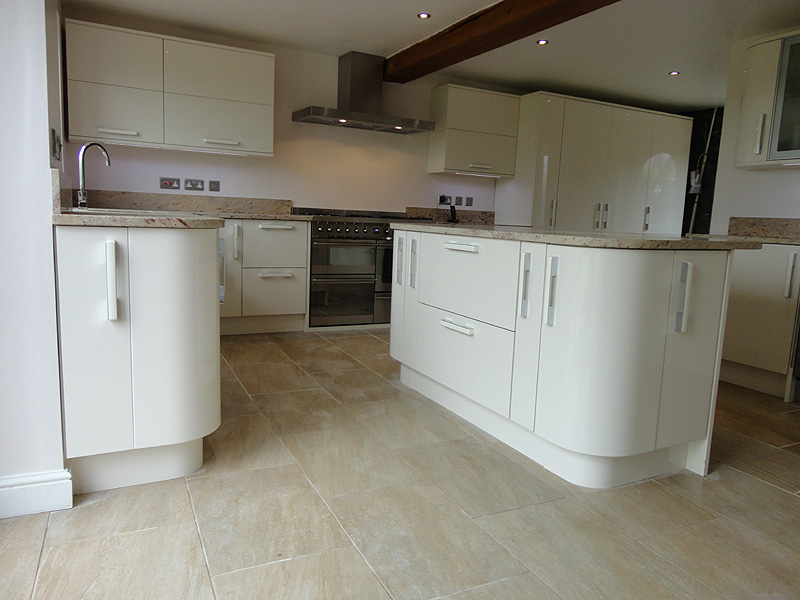
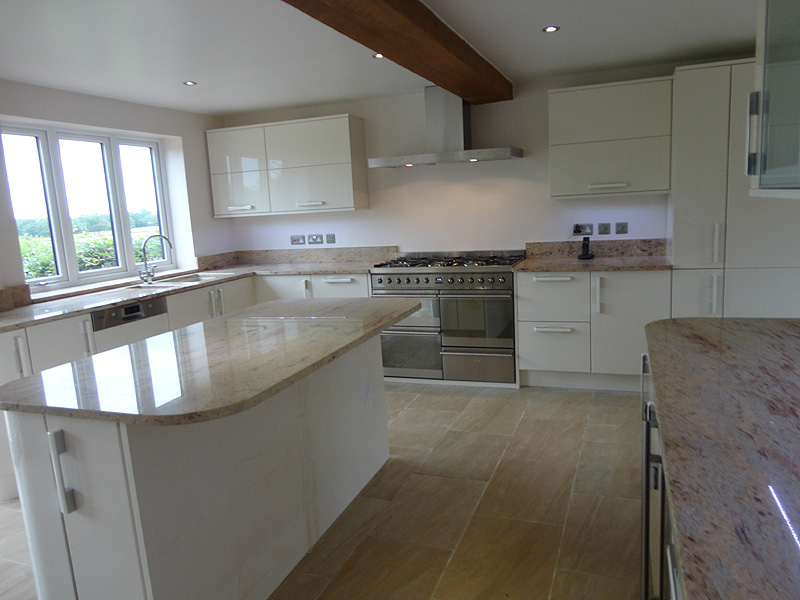
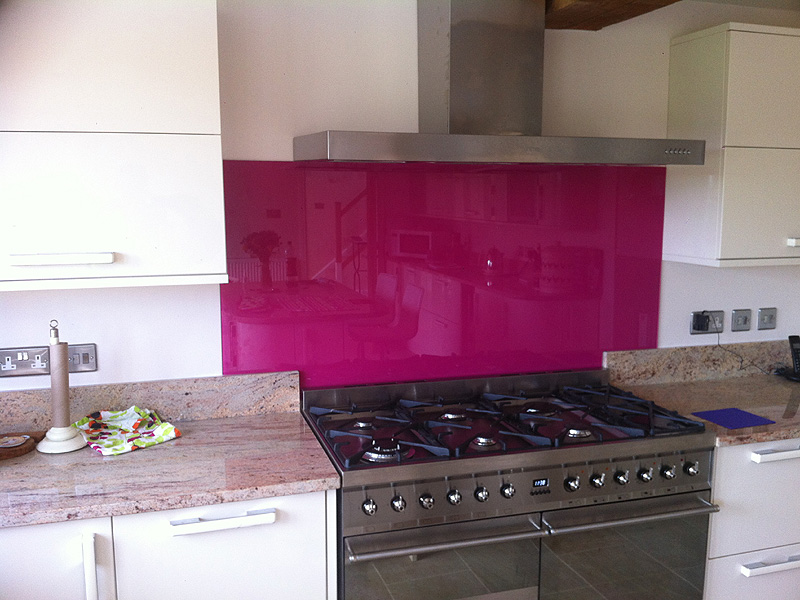
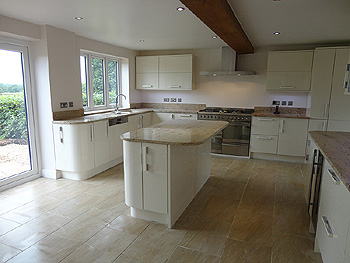
The fitted kitchen |

The fitted kitchen |
|

The fitted kitchen |

The fitted kitchen |
|
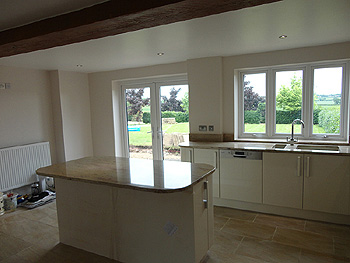
The fitted kitchen |

The completed kitchen with glass splash back |
Return to top of barn conversion page
Oak Flooring
|
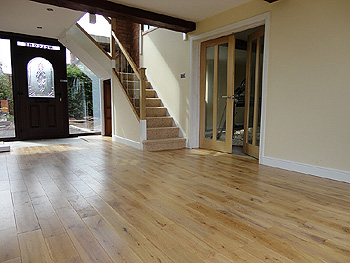
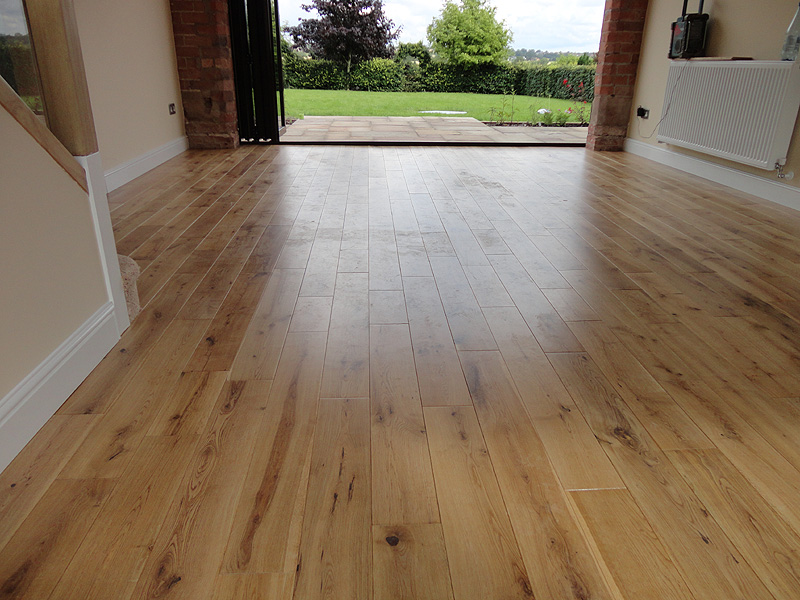
The new oak flooring |
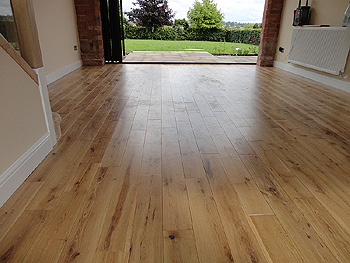
The new oak flooring |
Return to top of barn conversion page
Replacement Windows
|
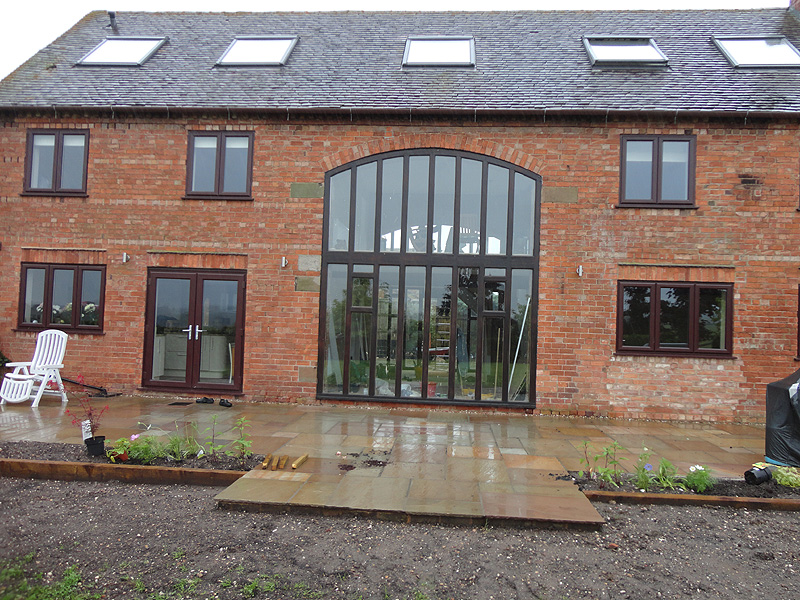
The old back door & windows
prior to replacement |
Our window fitters
remove the old windows |
Our window fitters
remove the old windows |
|

The space after
window removal |
Fitting the new back
door & window frame |

The new back door
& fitted glass panels |
|
The smart new glass windows & door |
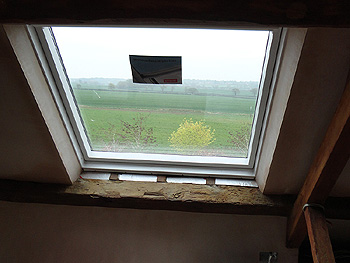
One of 9 newly fitted electric/
automatic Velux windows |
|
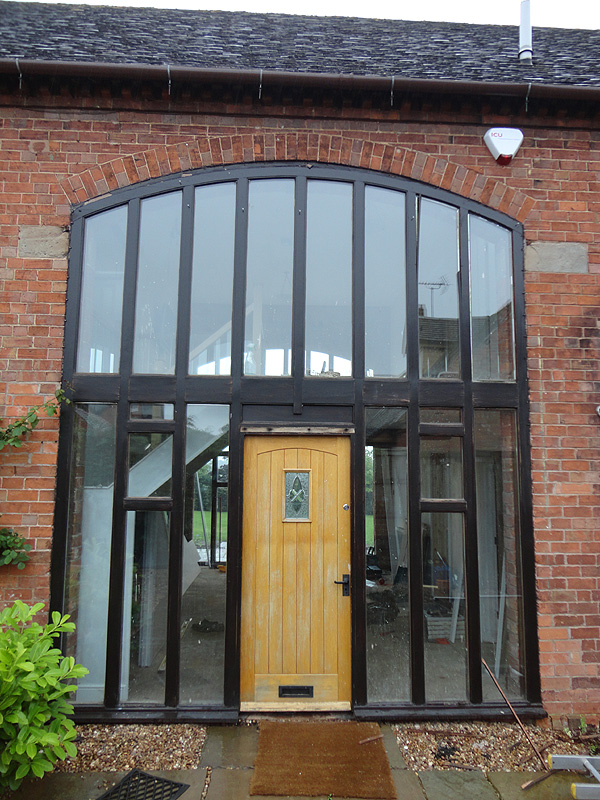
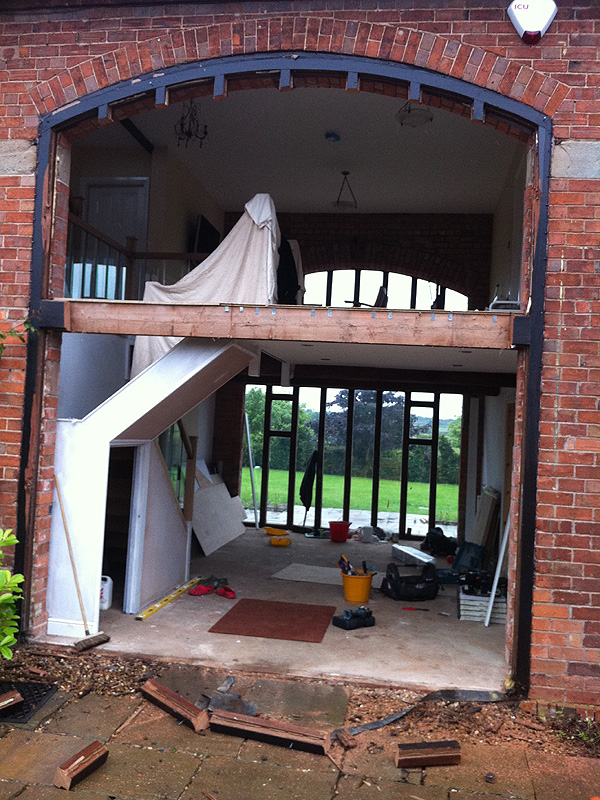
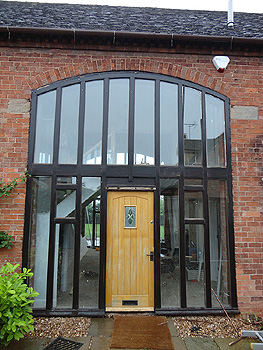
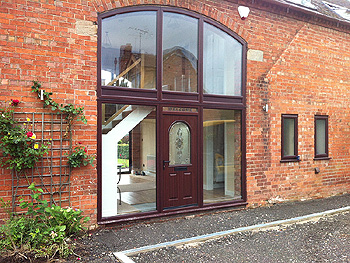
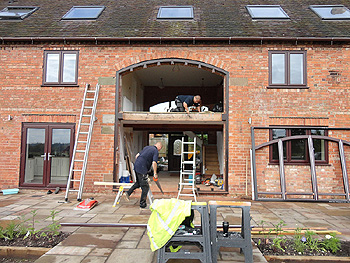
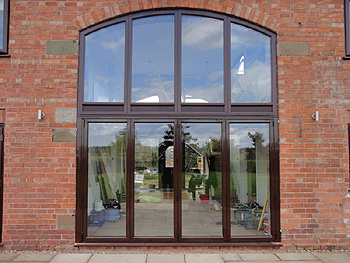
The old frontage
prior to removal |
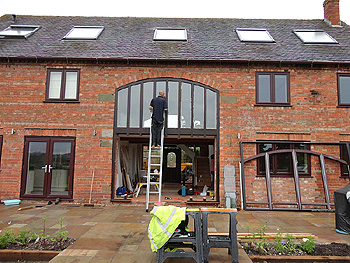
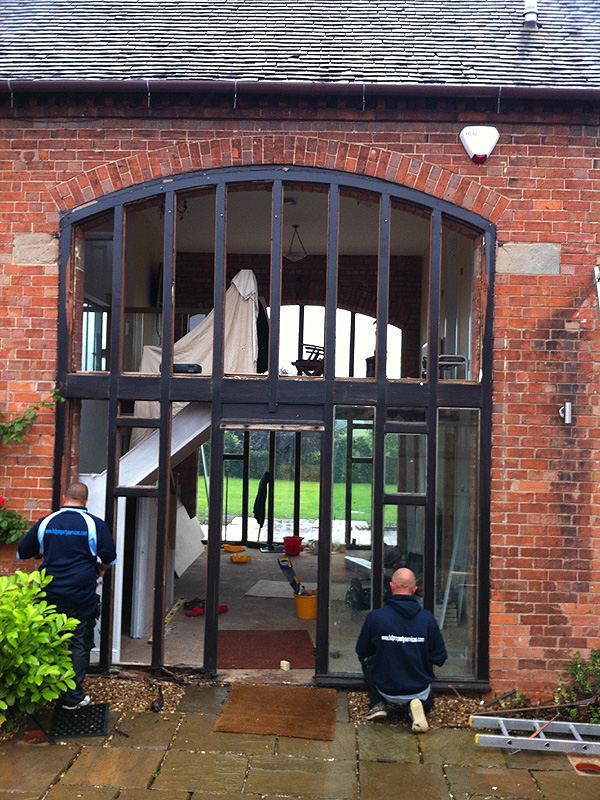
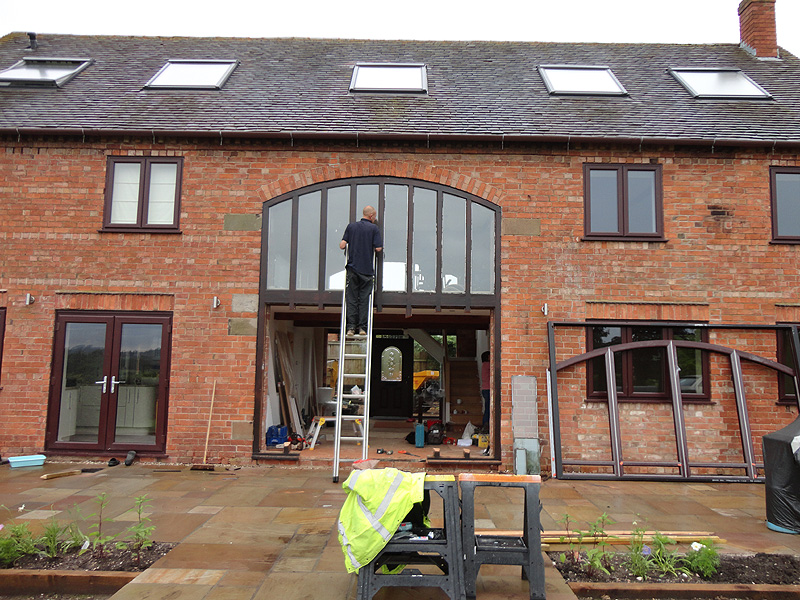
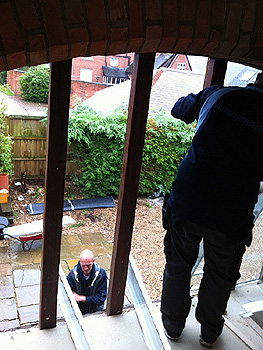
Our window fitters removing
the old wall of glass panels |
|
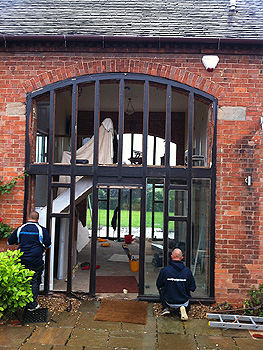
Removal of the old windows & doors |
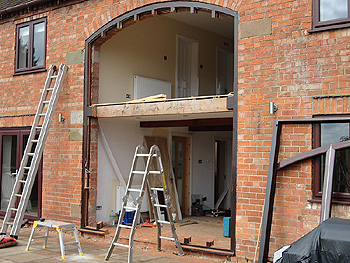
Removal of the old windows & doors |
|
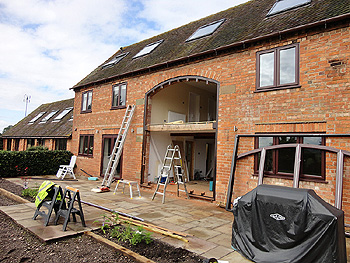
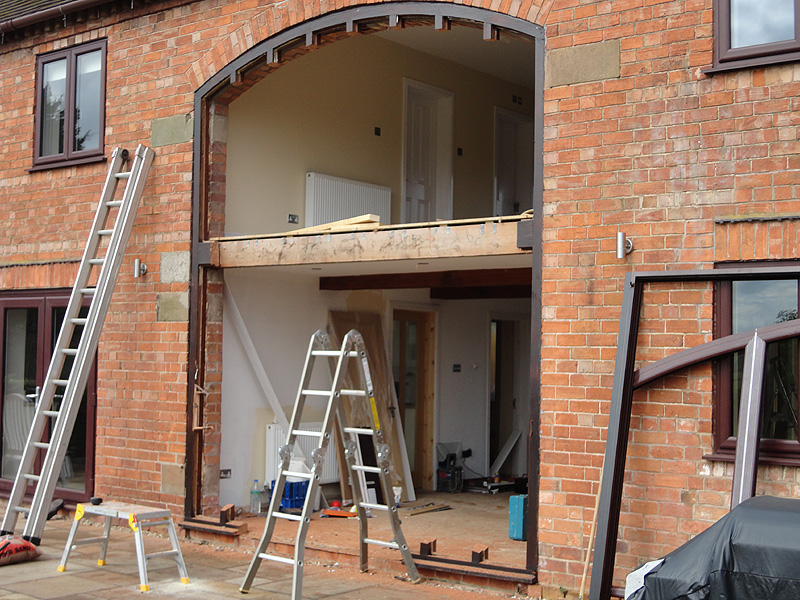
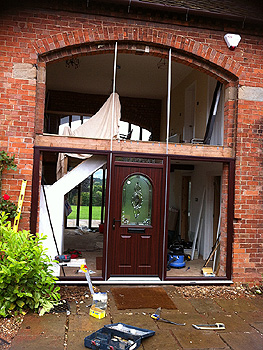
Removal of the old windows & doors |
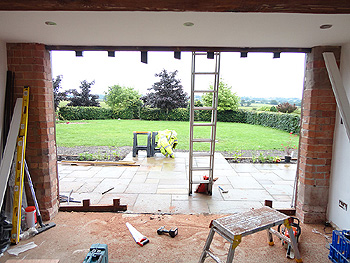
View from inside prior to
installation of new bi-fold doors |
|
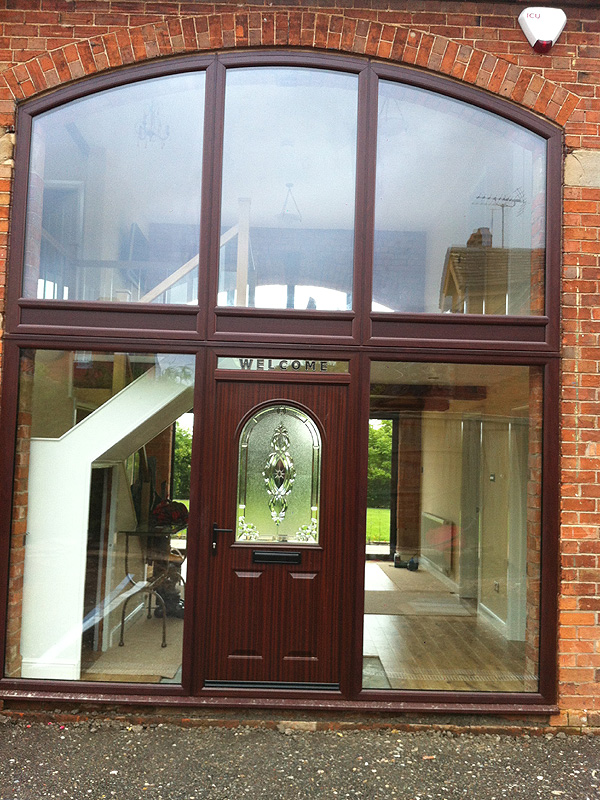
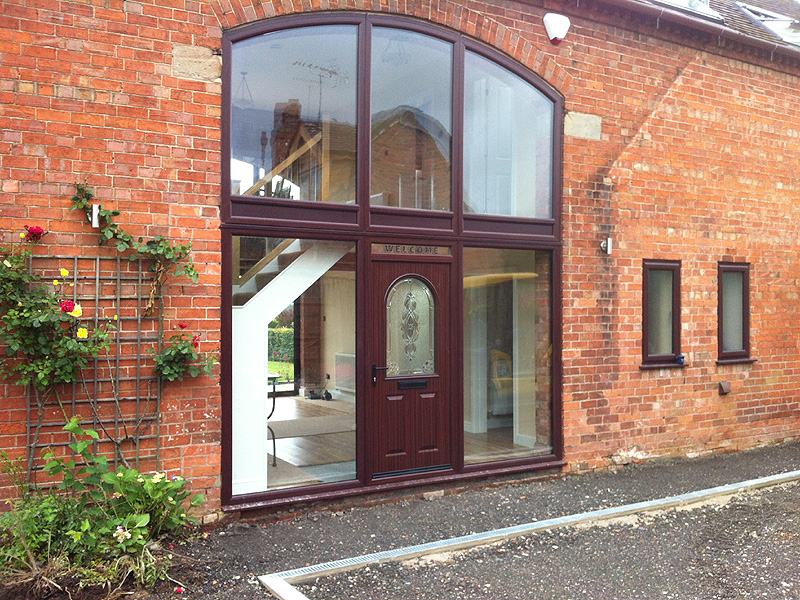
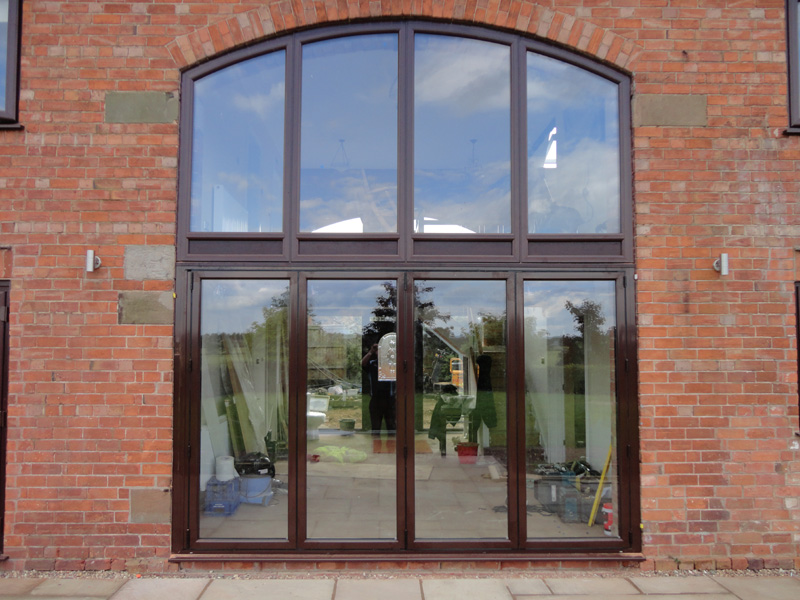
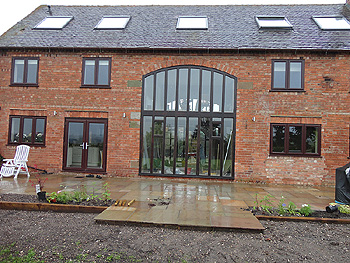
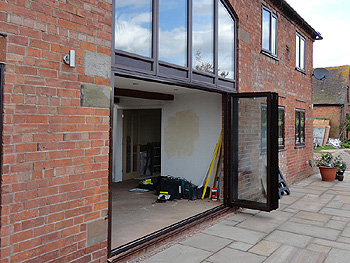
The newly fitted windows
& spectacular bi-fold doors |

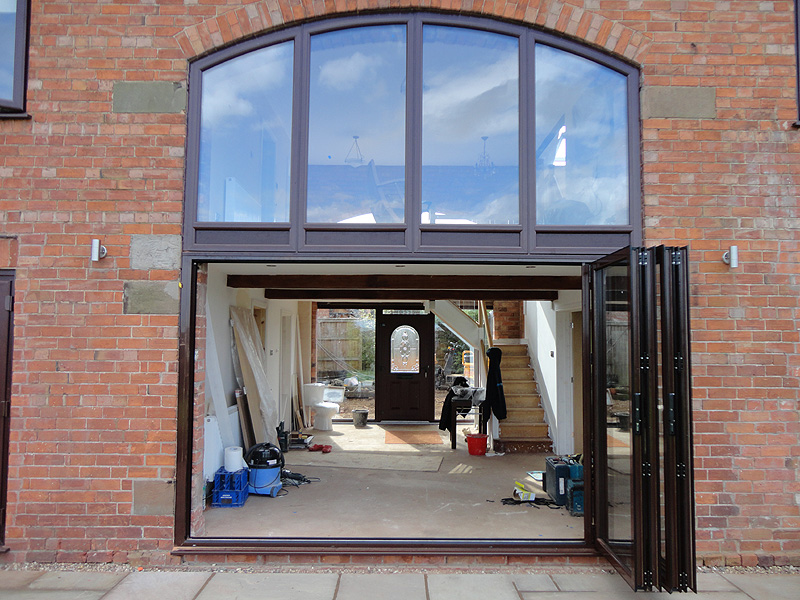
The newly fitted windows &
aluminium bi-fold doors half open |
|

The newly fitted windows
& bi-fold doors fully open |
The newly fitted windows
& bi-fold doors fully open |
|
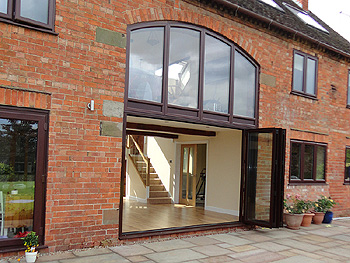
The newly fitted windows
& bi-fold doors fully open |
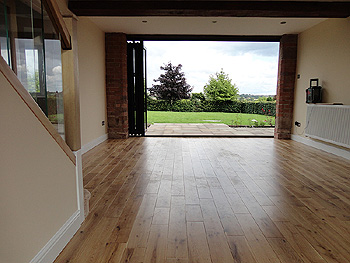
The newly fitted bi-fold doors
fully open - view from inside |
Return to top of barn conversion page
Stairs Glass Stairwell
|
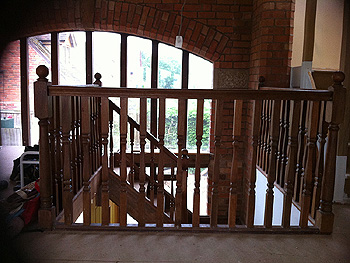
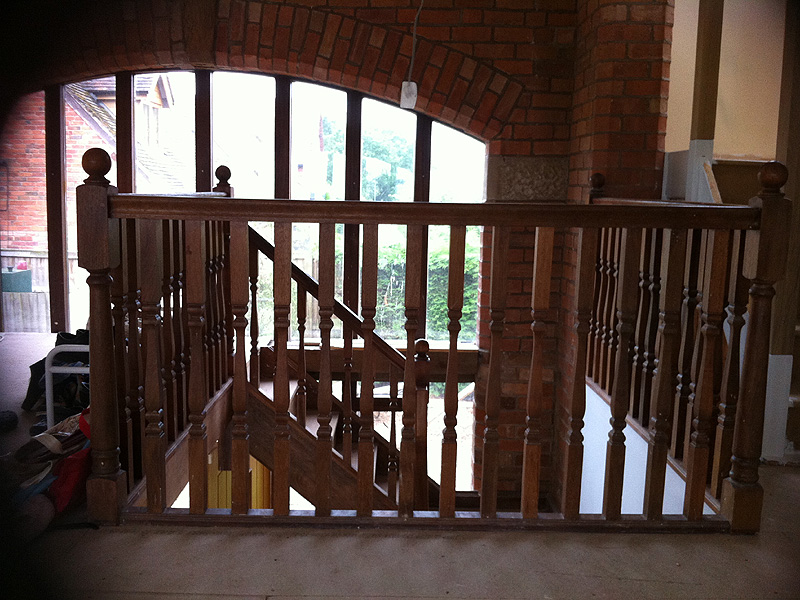
The old oak ballustrade &
spindles prior to removal |
A view of the stairwell prior to removal
of the old spindles & ballustrade |
|
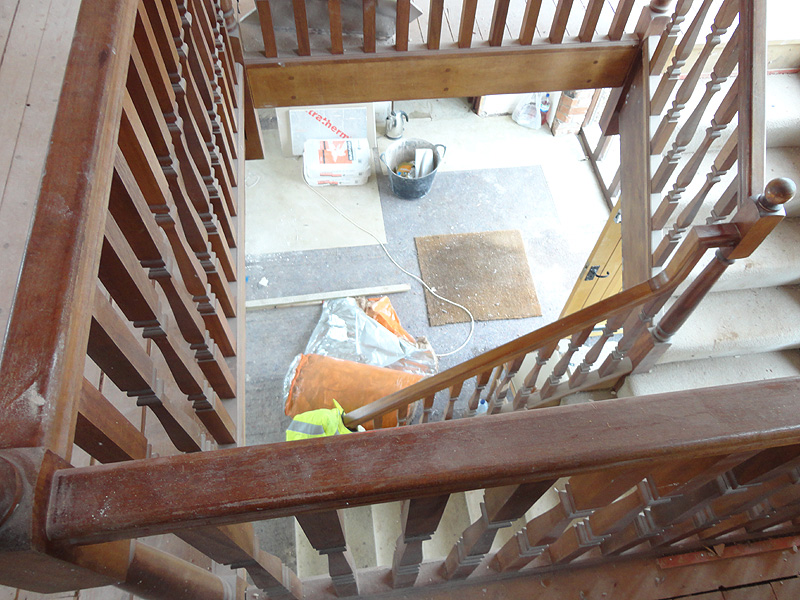
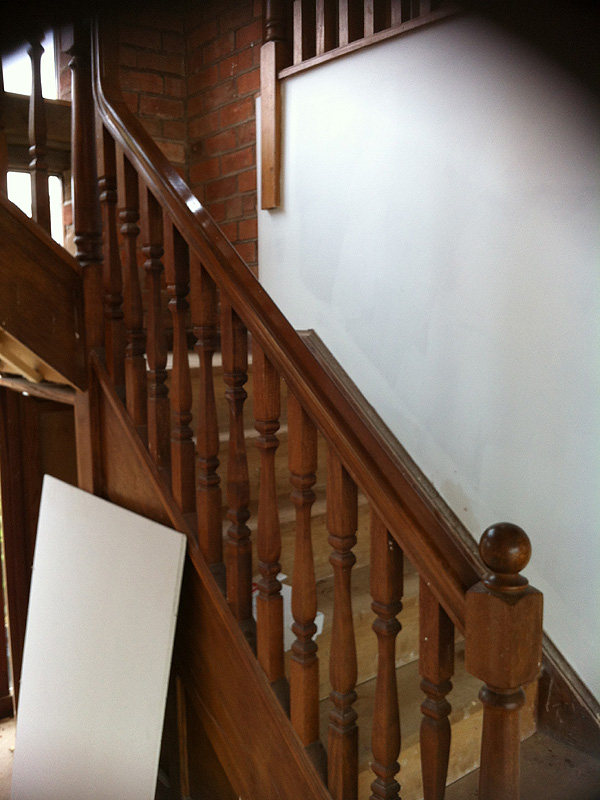
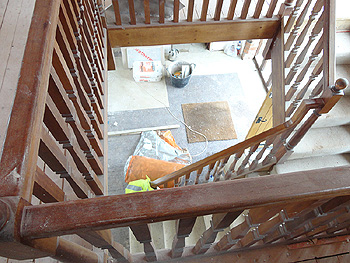
The old stairwell ballustrades |

The old spindles |
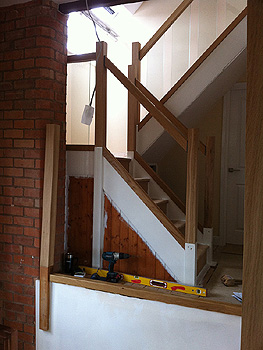
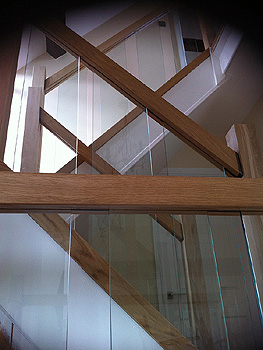
Installation of the
new wooden framework for
the new glass ballustrade |
|

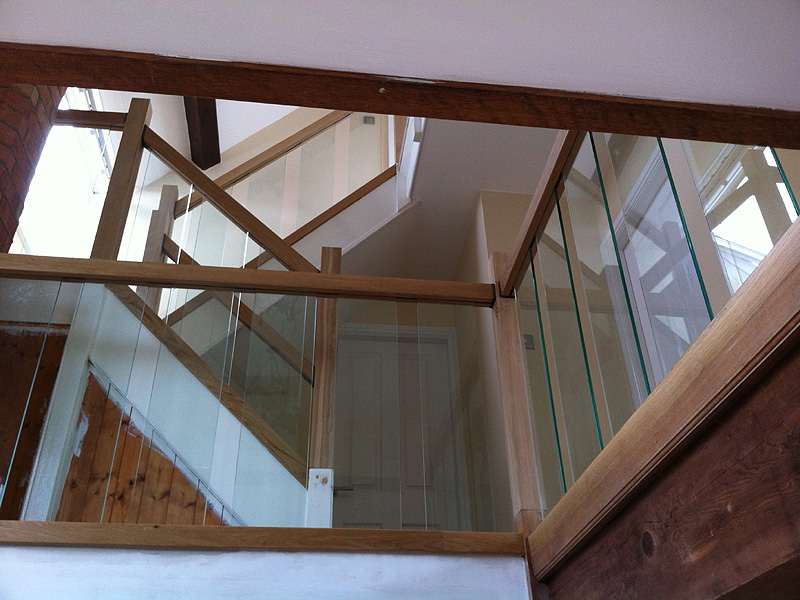
The new glass panels go in |
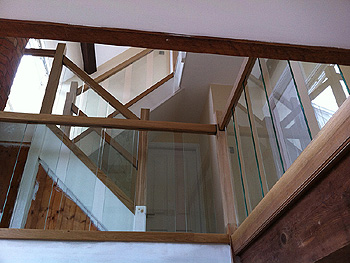
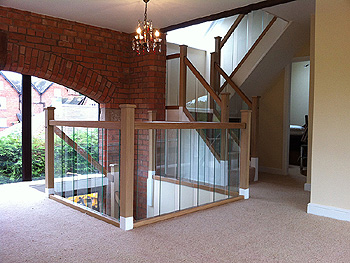
View of the airy new look stairwell |
|
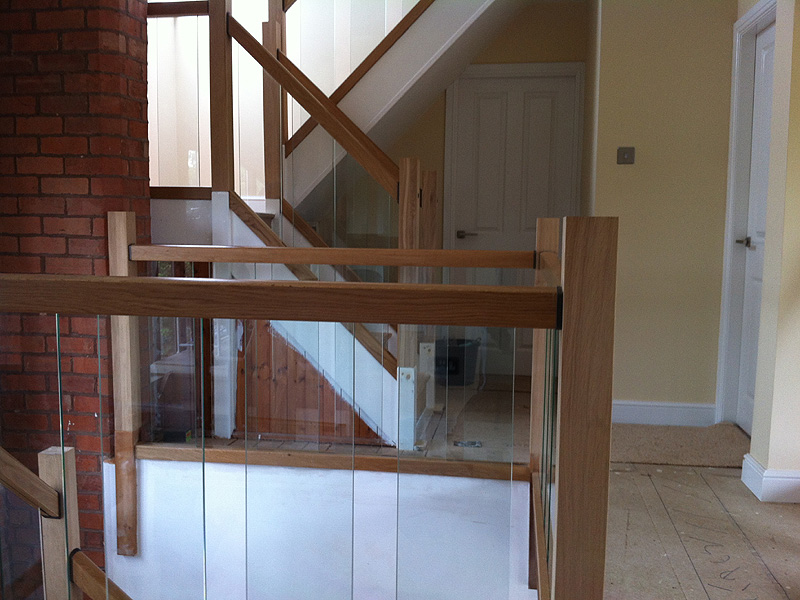
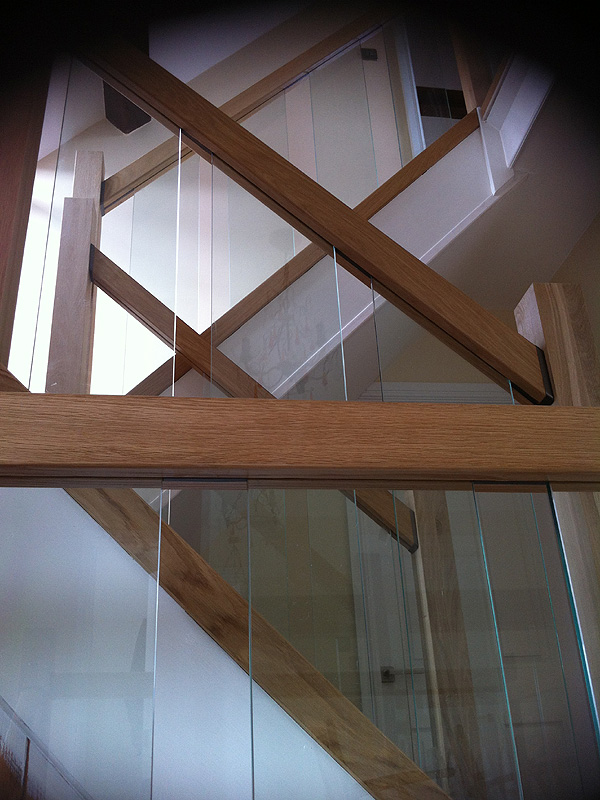
The sleek new look stairwell |
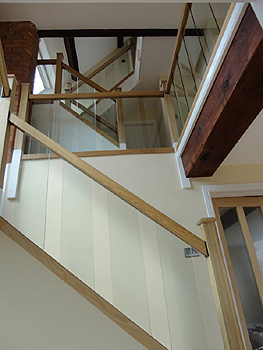
The new glass ballustrade
gives a brighter airier
feel to the stairs |
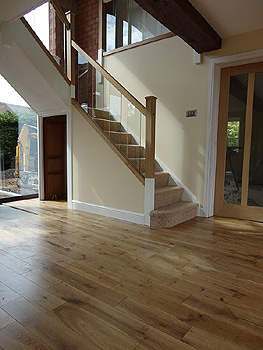
The contemporary new glass
ballustrade is complemented
by new oak flooring |
|
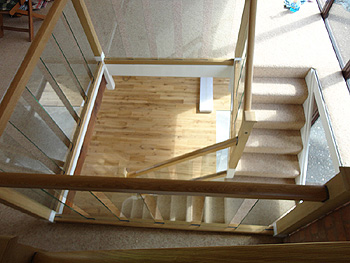
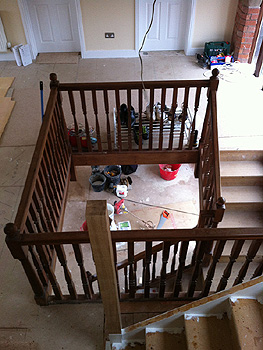
Aerial view of the stairwell |
The completed sleek, modern new ballustrading |
Return to top of barn conversion page
Bathroom Installation
|
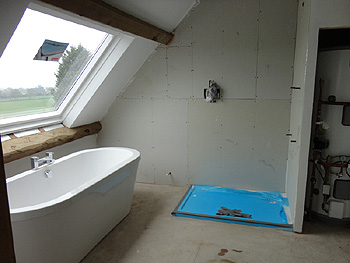
Installing a bathroom |
Installing a bathroom |
|
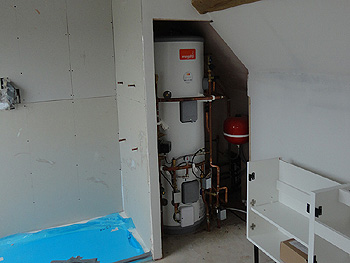
Clever siting of the newly installed
Mega Flow pressurised hot water system |
One of the four completed bathrooms |
|
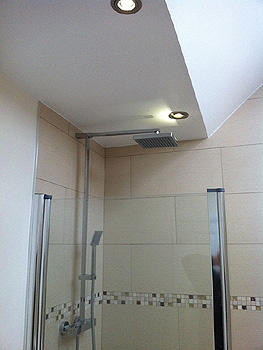
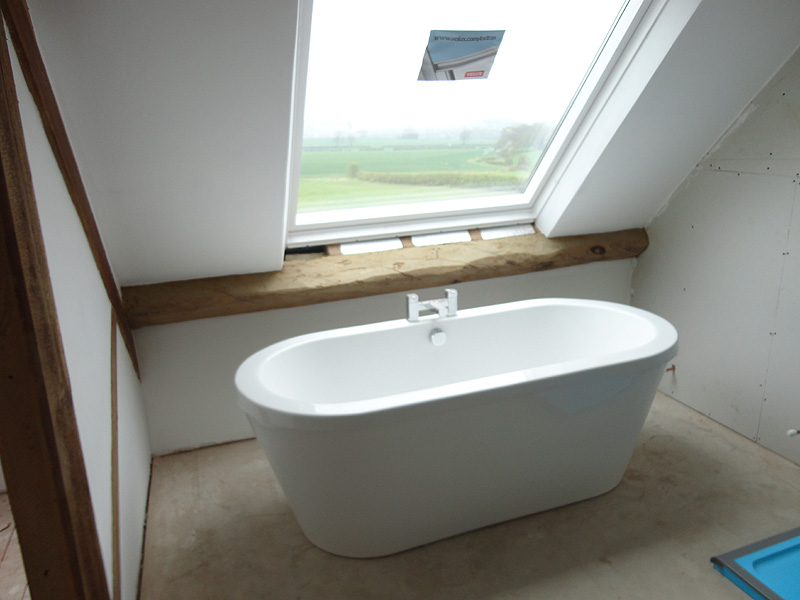
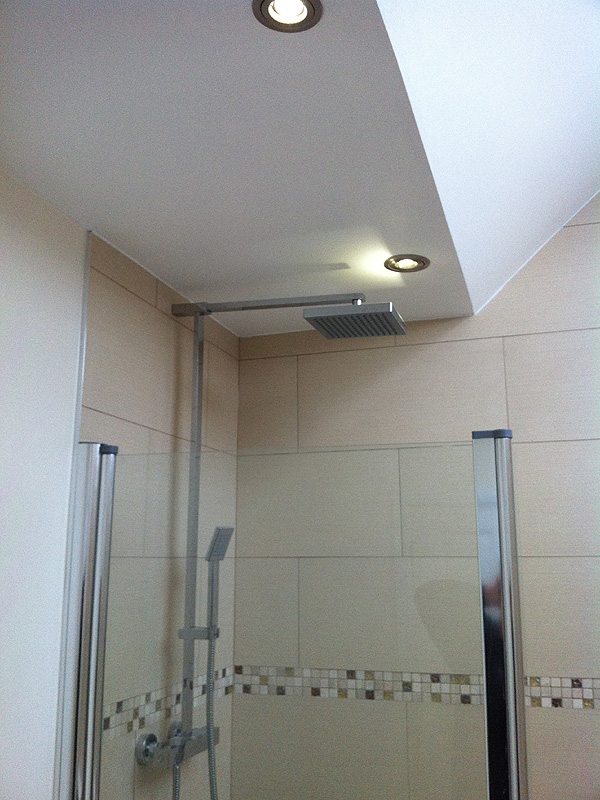
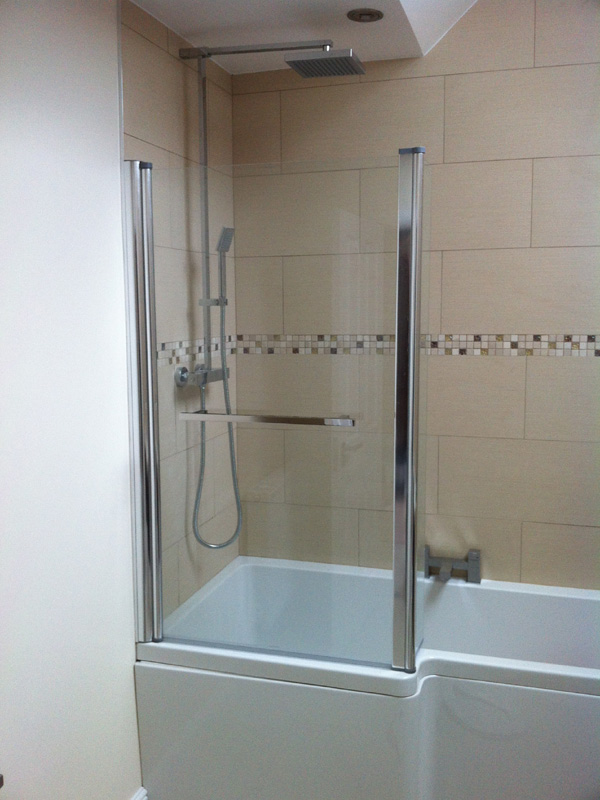
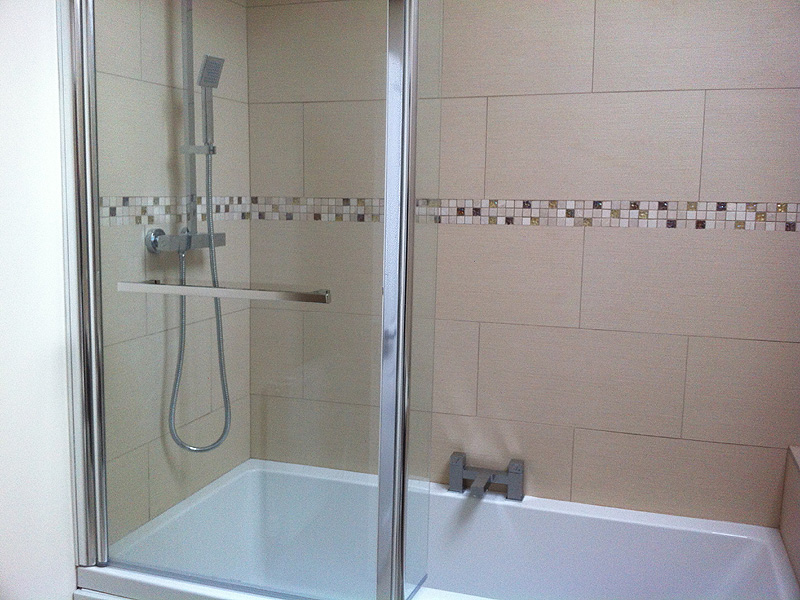
A sleek, contemporary
over-bath shower |

A sleek, contemporary
over-bath shower |

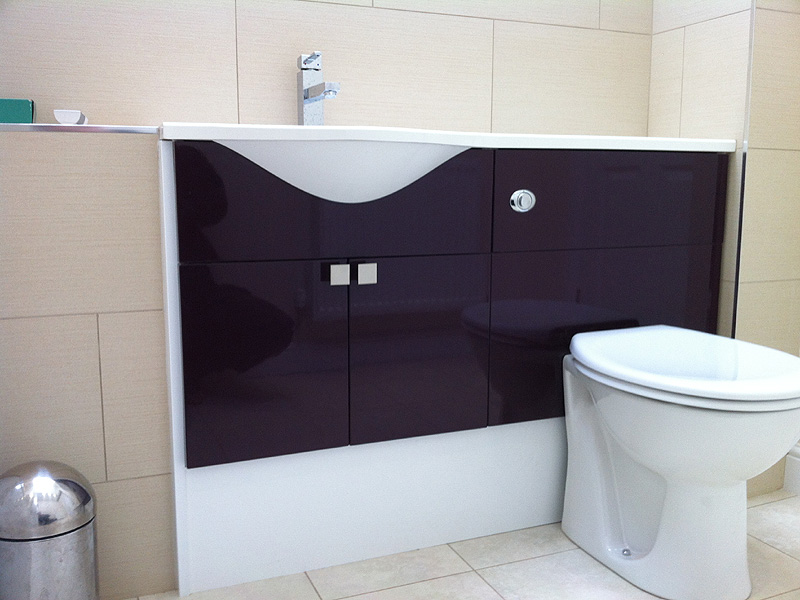
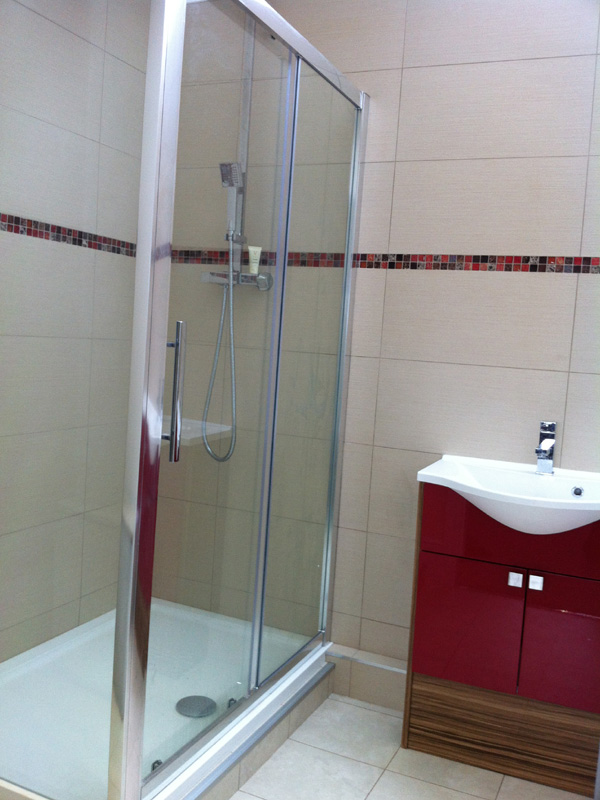
A completed contemporary
shower room |
|

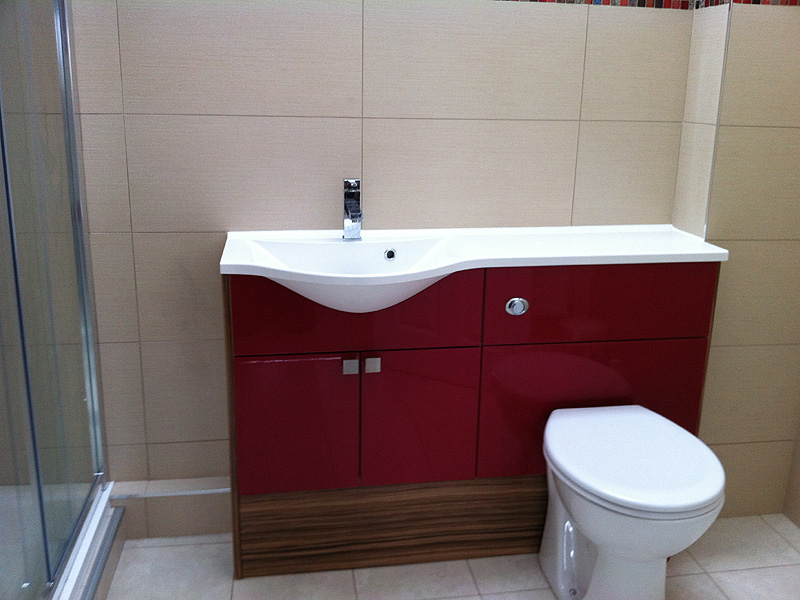
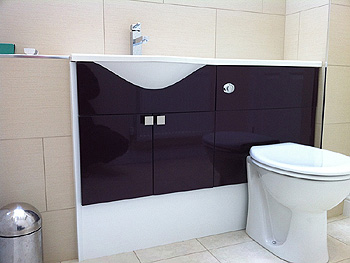
The sleek, integrated vanity unit with WC |
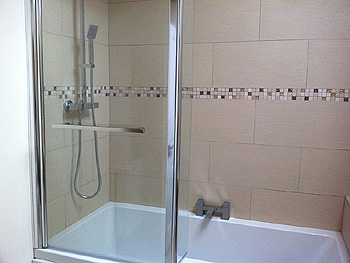
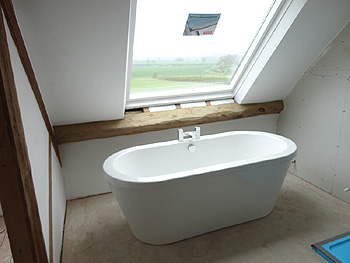
Contemporary bath with shower over |
Return to top of barn conversion page
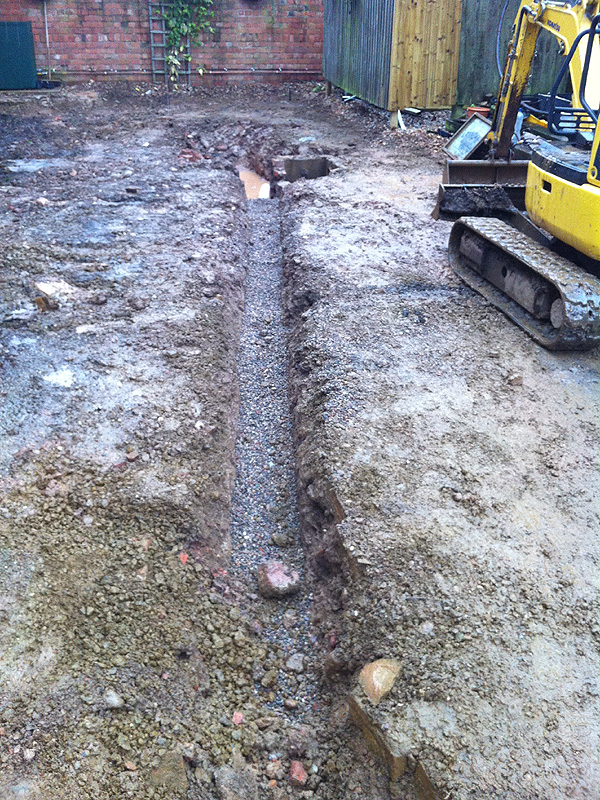
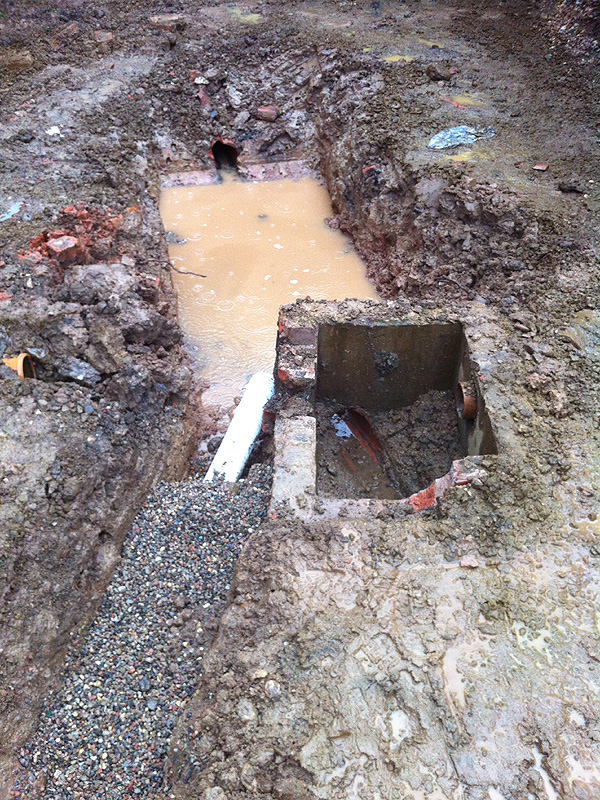
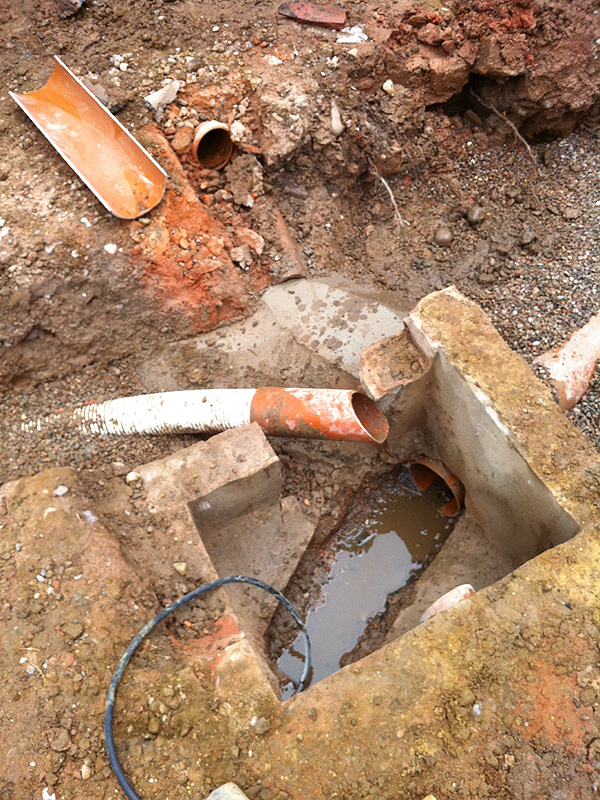
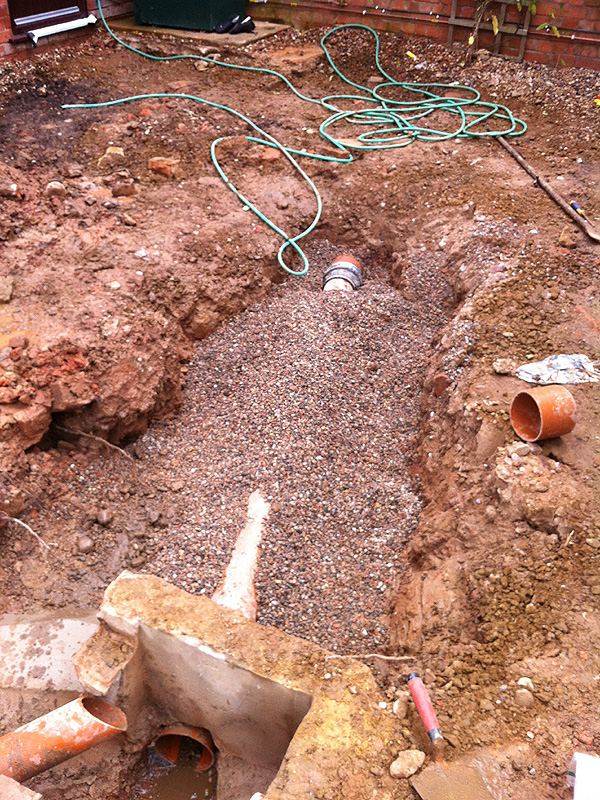
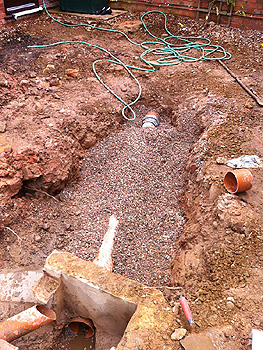
Drainage
|
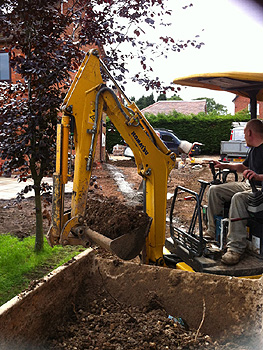
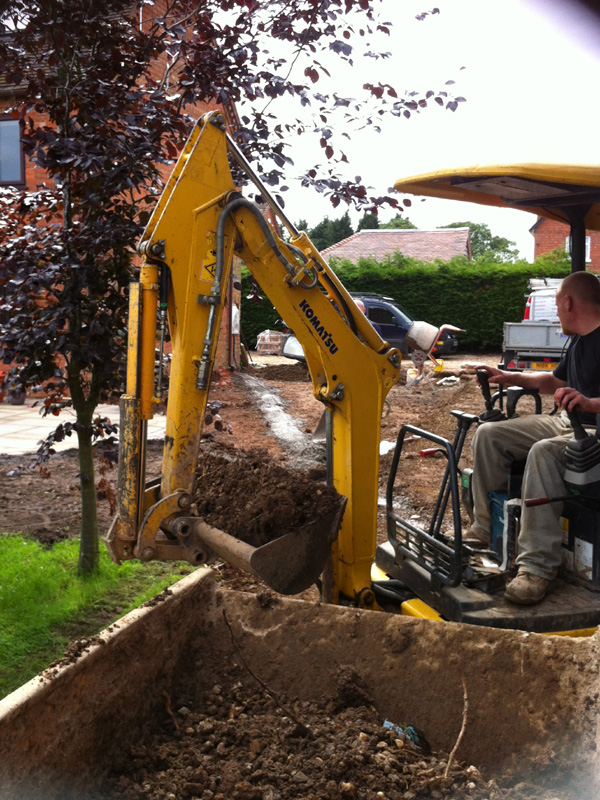
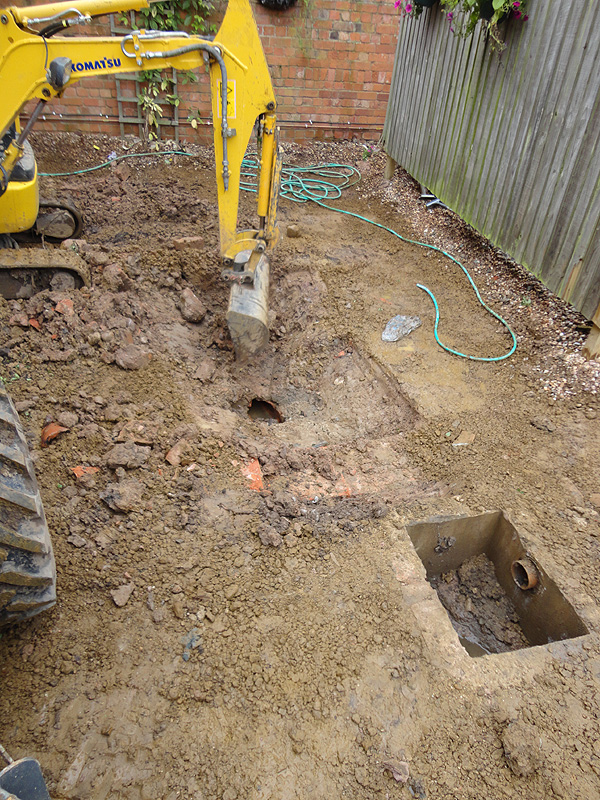
Digging out |

The old collapsed drain |
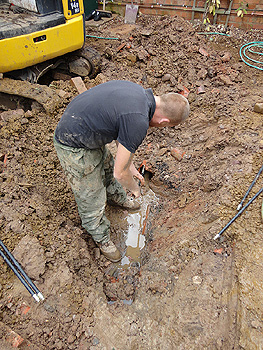
Removal of the old collapsed drain |
|
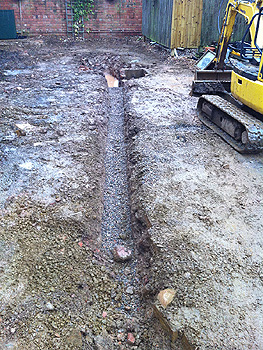
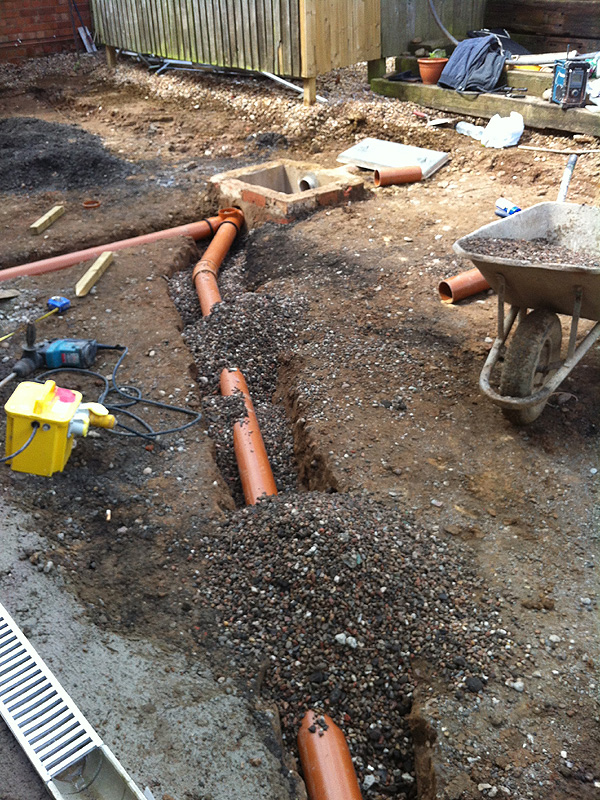
New drainage trench |
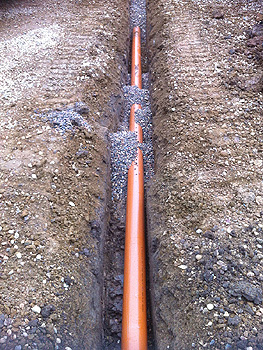
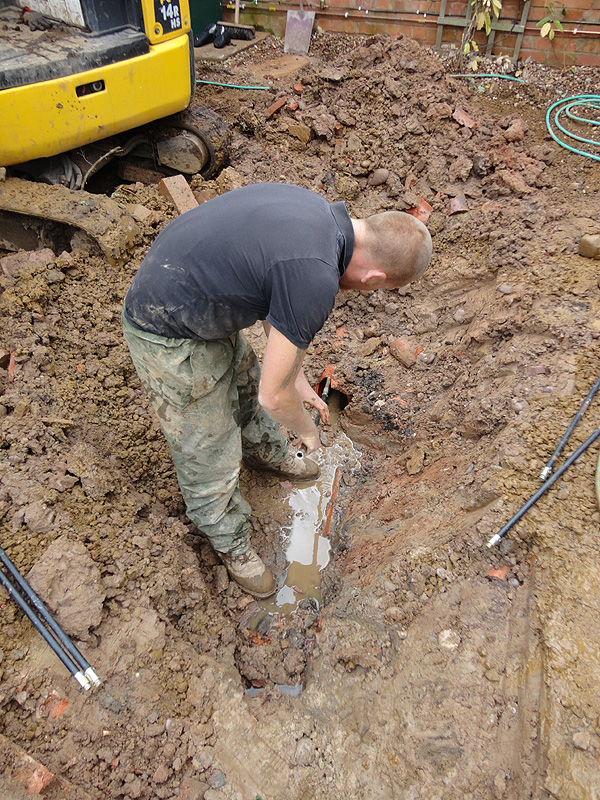
A new pipe goes in |

New pipework connected |
|

New pipework connected |
Covering the new drain pipework |
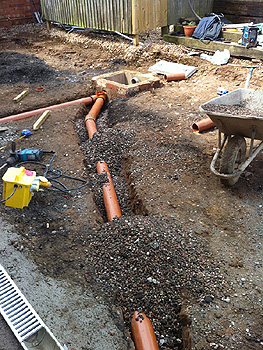
Covering the new drain pipework |
Return to top of barn conversion page
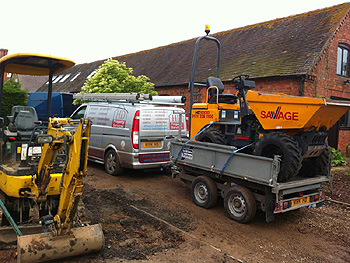
Garden Landscaping Patios
|
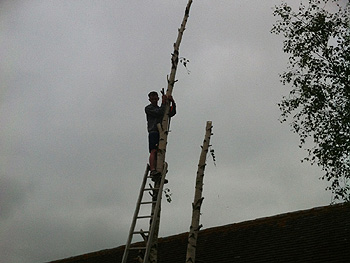
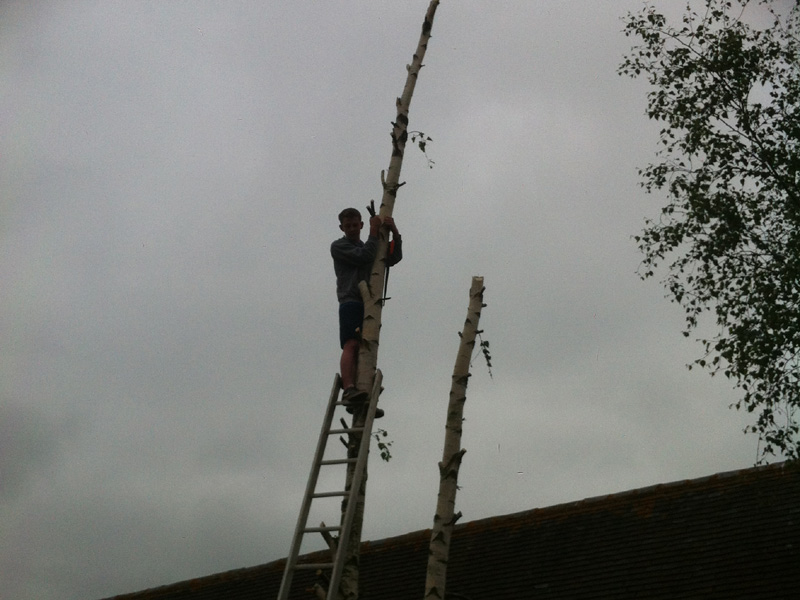
Tree removal |
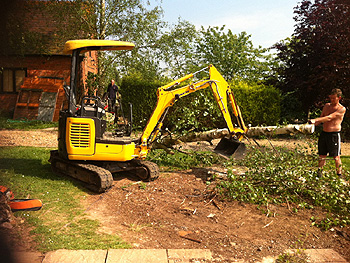
Breaking up the felled tree |
|

Slabs removed from old front terrace |
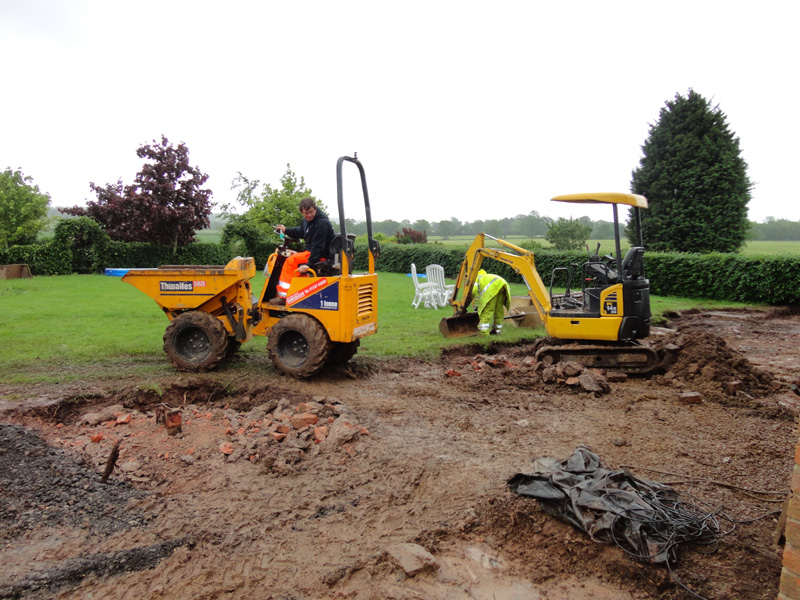
More garden plant arrives |
|
More garden plant arrives |
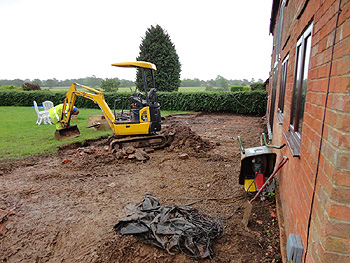
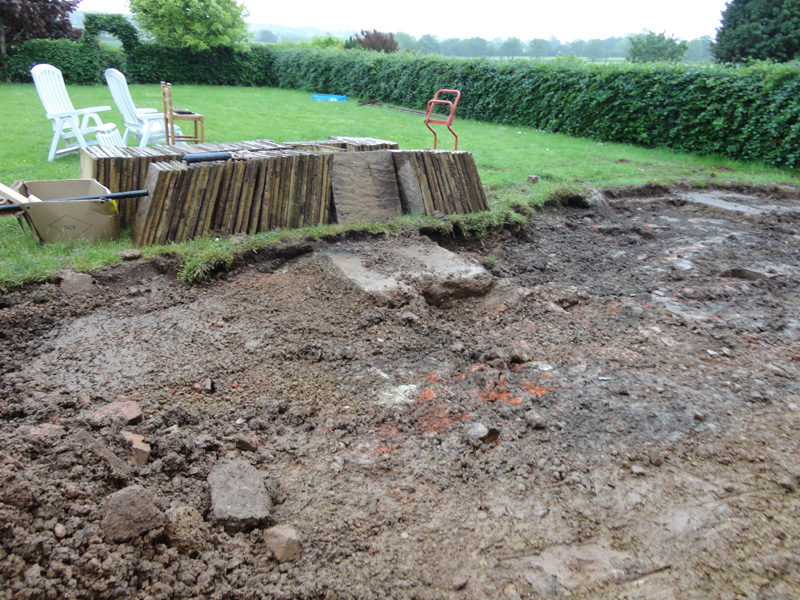
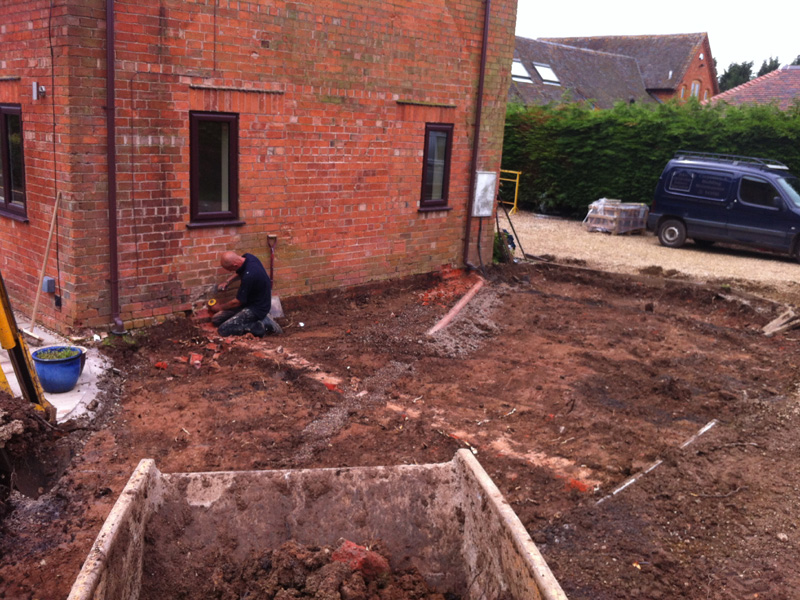
Digging out the space for the new front terrace |
|
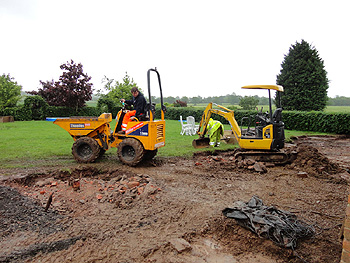
Digging out the space for the new front terrace |
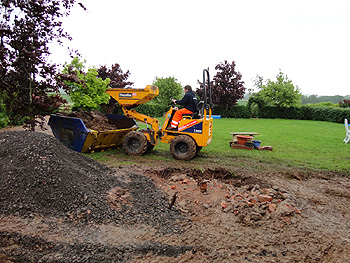
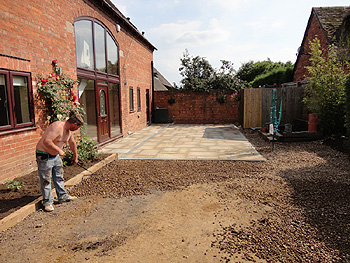
Preparing the space for the new front terrace |
|

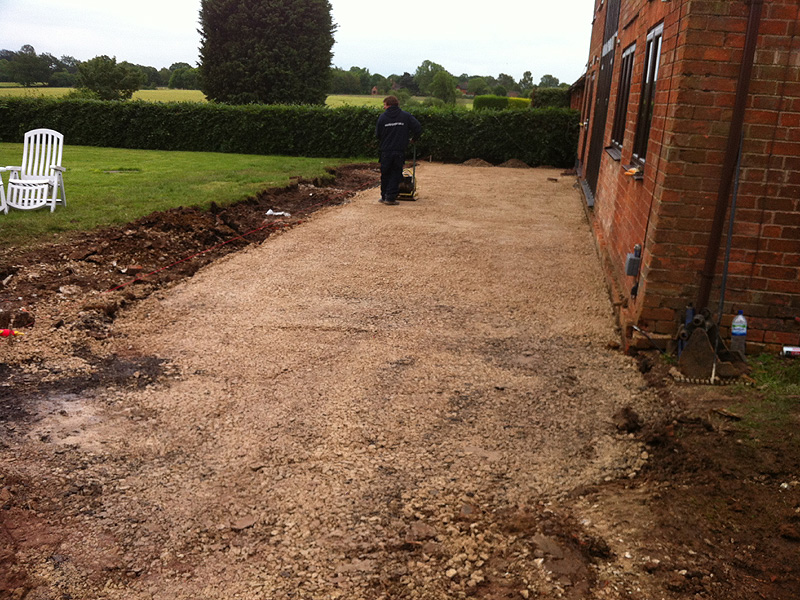
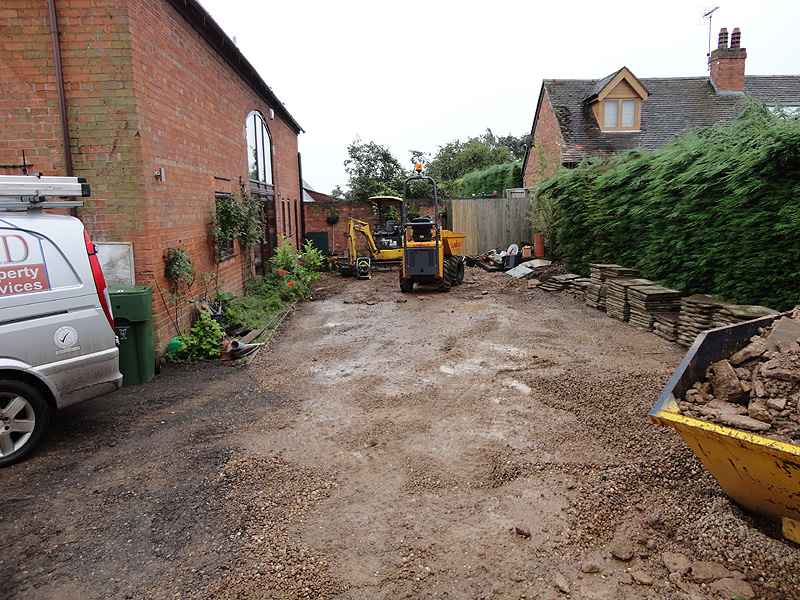
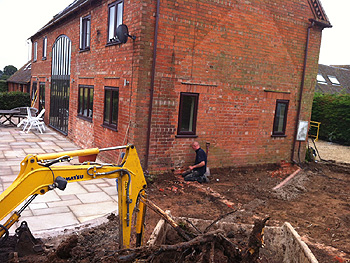
Preparing the ground at the side of the house |

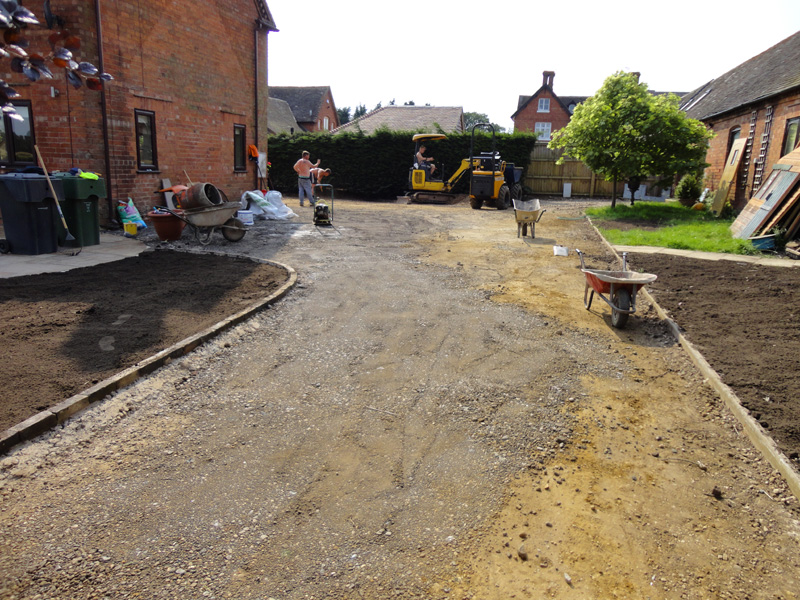
Compacting the ground prior to
laying the Indian Stone slabs |
|
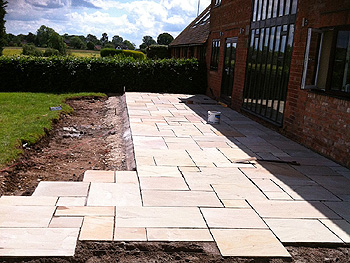
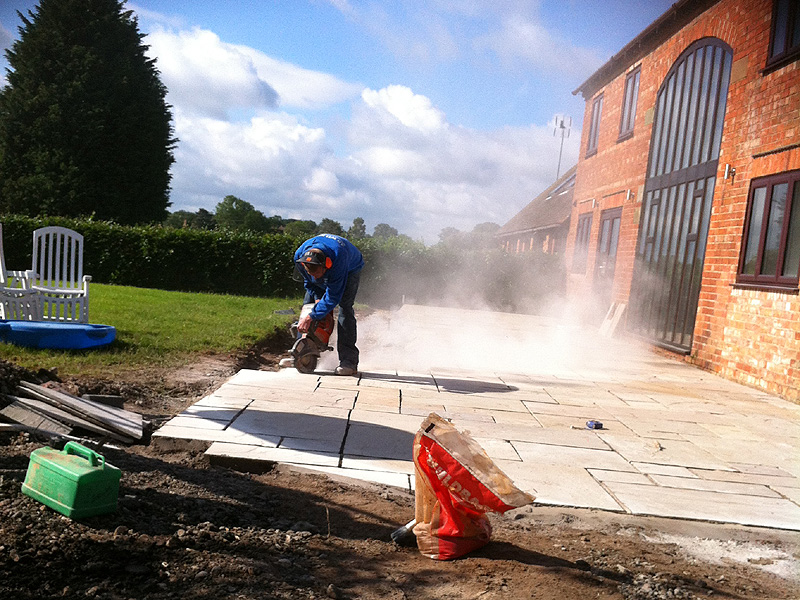
The new Indian Stone slabs are laid |
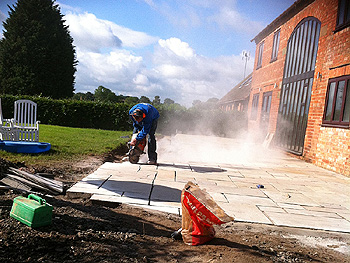
Cutting the Indian Stone slabs to the required shape |
|

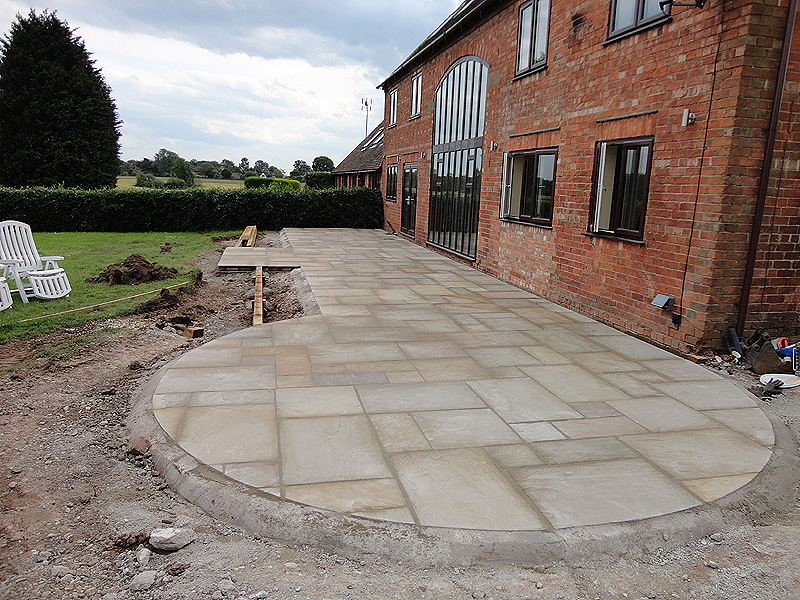
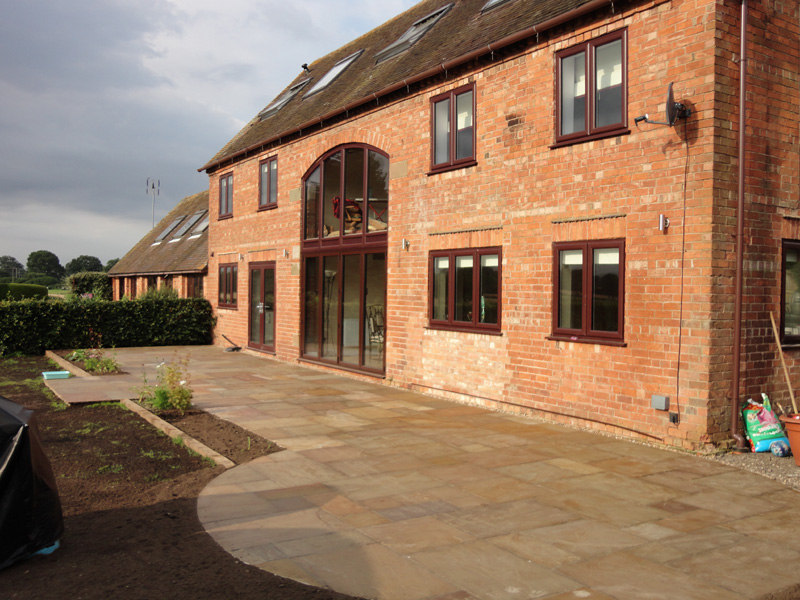
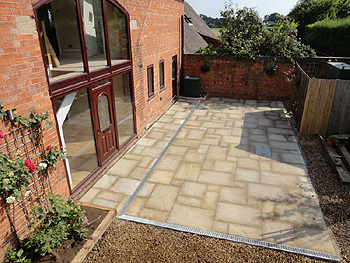
The completed P-shape terrace |
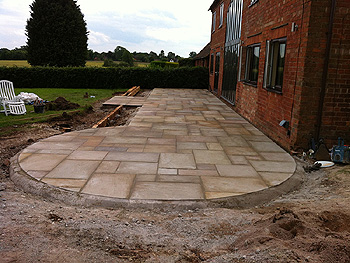
The completed P-shape terrace |
|
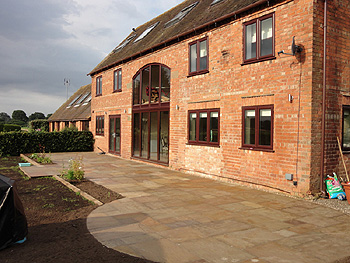
The completed P-shape terrace
after soil brought to edging |
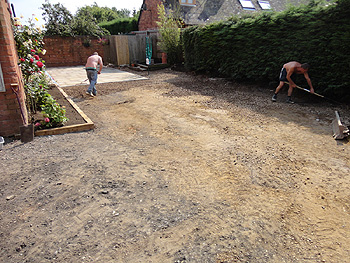
More ground preparation |
|

Preparing the rear patio area for
new Indian Stone paving slabs |

Preparing the rear patio area
for new Indian Stone terrace |
|
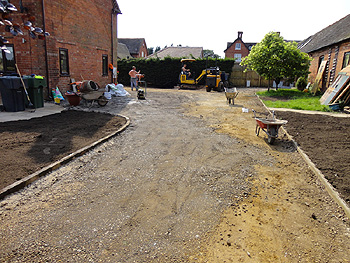
Landscaping the grounds |
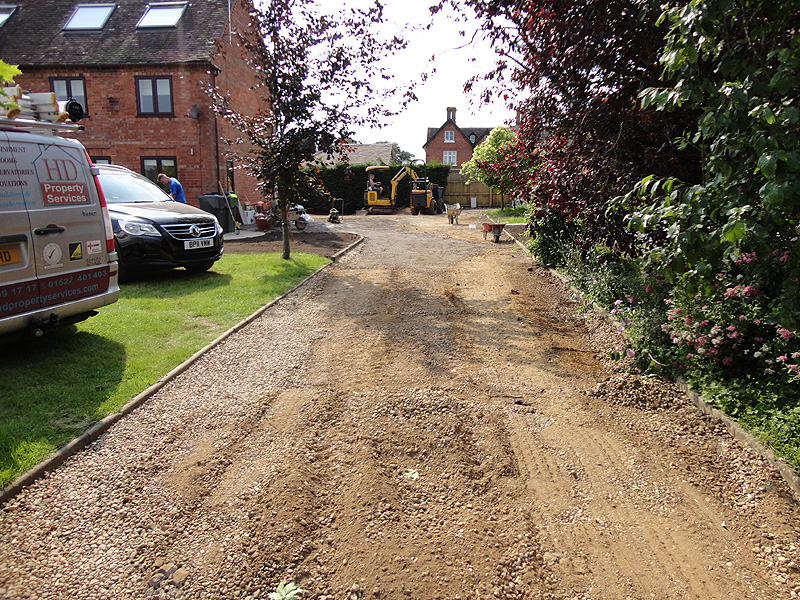
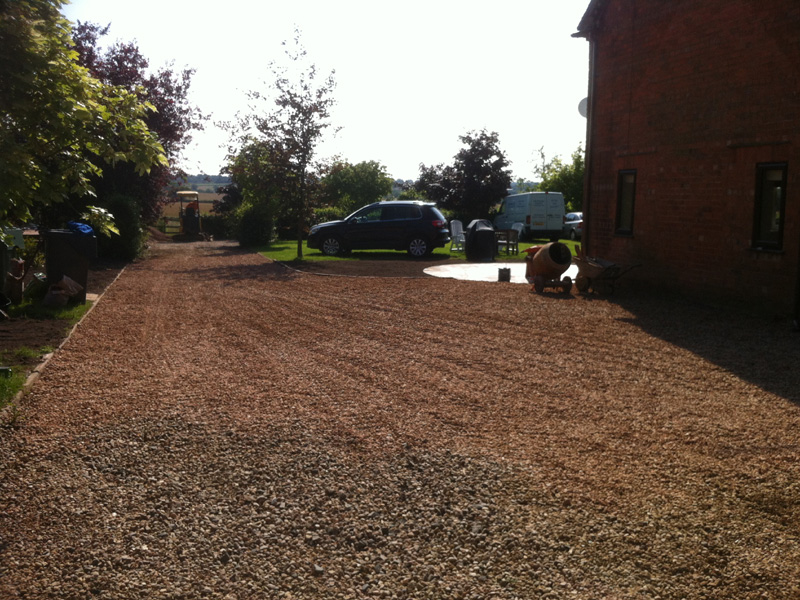
Landscaping the driveway |
|
Distributing chippings on the driveway |
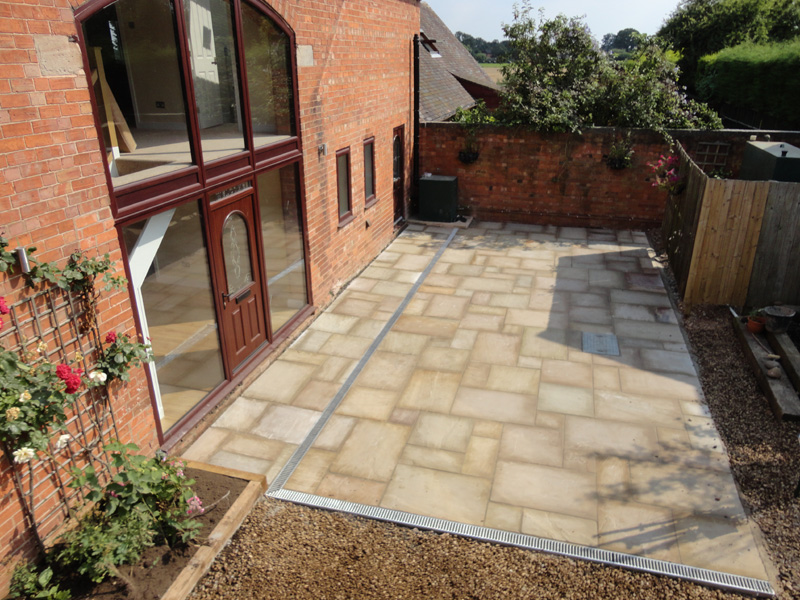
The completed rear terrace |
|
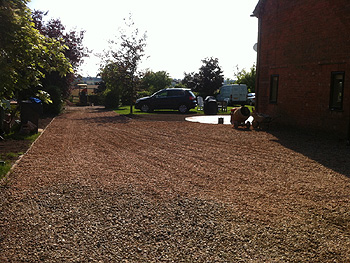
The completed driveway |
The completed rear terrace |
Return to top of barn conversion page
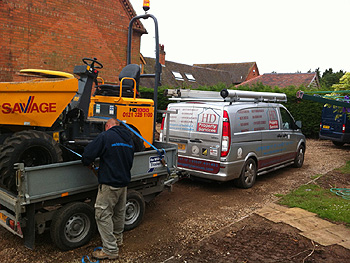
The HD Property Services team on this Barn Conversion renovation project included:
- Joiner
- Electrician
- Plumber
- Plasterer
- Tiler
- Painter & Decorator
- Kitchen Fitter
- Bathroom Fitter
- Plumber
- General Builder
- Window Fitter
- Carpenter
- Flooring Fitter
- Landscape Gardener
<<< GO BACK TO BEFORE & AFTER GALLERY <<<
 Call us today for a friendly chat to discuss your requirements on 07513 99 17 17 or 01527 401 403. Call us today for a friendly chat to discuss your requirements on 07513 99 17 17 or 01527 401 403.
Alternatively send an email to: info@hdpropertyservices.com
|